This post was originally published in 2007
The tips and techniques explained may be outdated.
I'm in a monster character illustration mood this month, after the creation of Frankenspoon I thought it would be cool to create a mini-series of tutorials on how to create a set of simple monster characters. Hopefully these will be easy enough to follow by Illustrator beginners, with mostly the basic tools and shapes being used.

Part one of the series will cover the creation of this flying bat ghost type fellow, so to begin launch up Adobe Illustrator.

Draw a circle onto the artboard, (hold shift). Then with the Pen Tool add two additional anchor points to the path as shown. (Hover over the path and you will see a little plus sign appear on the pen-cursor icon, simply click to add a point)

With the Direct Selection Tool (white arrow) select and delete the lower most point of the circle, this will leave an unclosed path as shown above.

Back with the pen tool, click on the open end point on the bottom left of the circle to continue this path. Create a zig-zag line across to the opposite end point and complete the path. When hovering over the final end point you will notice an O appear on the cursor to indicate you are about to close the path by joining with this end point.
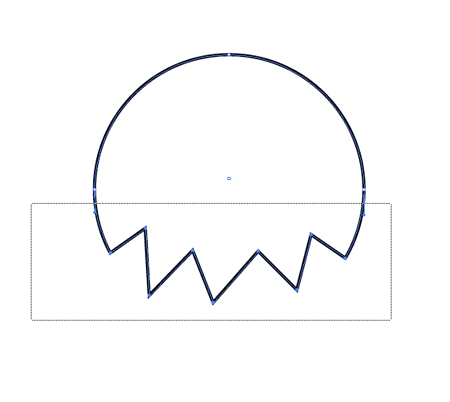
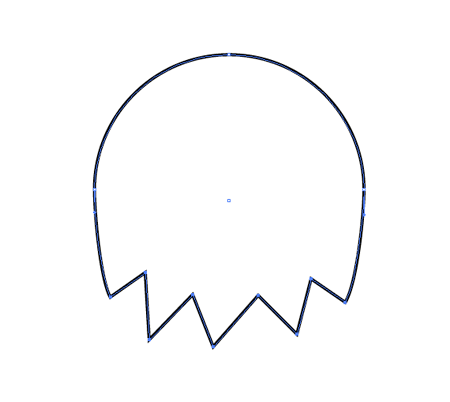
Use the Direct Selection Tool again to select all of the points on the lower half of the circle. Once selected nudge these downwards with the cursor key to extend the body of the character.

Select the circle tool again and draw two eyes with a black fill, creating these at different sizes gives the monster quirky characteristics.
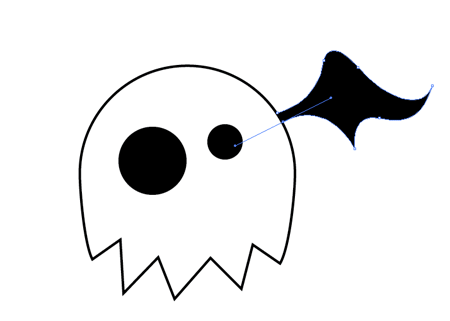
A little skill with the Pen Tool is required next to draw a wing shape off the edge of the character's body. Take some time to learn how the Bezier Curves affect the shape of the path. Once complete, fill the shape with black.
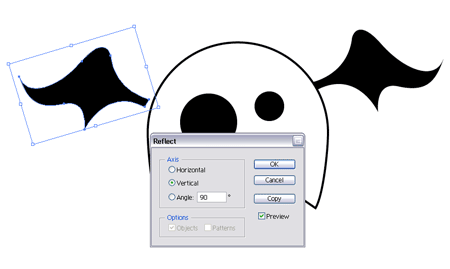
Instead of drawing another wing, copy and paste the one that has just been created and head to Object > Transform > Reflect. Choose the Vertical axis to mirror the wing, then position on the opposite side.
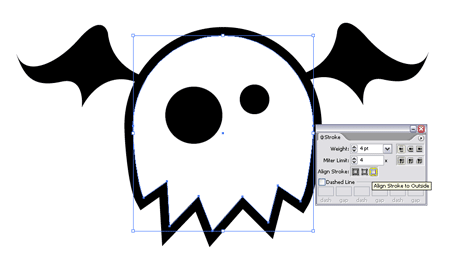
Select the main body, and thicken the stroke to give a definite outline. Click the little icon underneath to align the stroke to the outside of the shape.
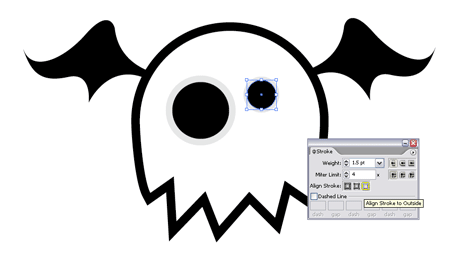
Select the eyes, and add light grey strokes to the outside of these shapes.
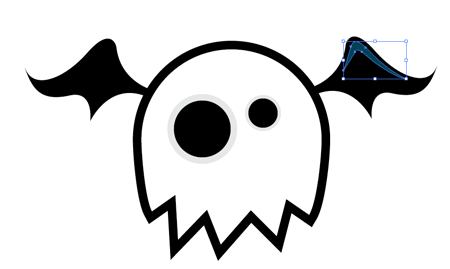
A slight highlight on the wings can be made with the pen tool, zoom right in and follow the shape of the wing and fill this shape with a deep blue.
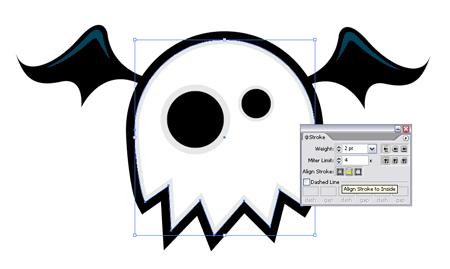
Back onto the body copy and paste in front (CTRL + F) the shape and change the black stroke to a thinner light grey outline, align this stroke to the inside.

Your scary Flying Bat Ghost is complete. Subscribe or check back soon to put some of these techniques into practice, and learn a couple of new tricks on the next monster character!



thats hot!
not bad
nice keep em coming,great
A great tutorial! Thanx!
I’m new to illustrator so I didn’t quite get most of this stuff. o_O Well, good work on that little cute monster anyway. *sigh*
An excellent quick tutorial! Thanks a lot!
nice tut
I want thanks too. I’m beginner and I searched some easy tutorial.
O_O nice tut!
cool so easy
Great! & Simple :) I learned new and easy stuff thanks !
Thanks for this great tut!
lkklk
thanx to you… this is really great!
Hello Blog.Spoongraphics!
I search all the web for some tutorials.
And i founded Pixel2life!
There is no one tutorial in the Dutch for Illustrator, well i just searched for English!
And i found you’re website.
I love it and make more Cartoons, this is simple english talk and i can read it (i hope my english is not to bad).
Good Job.
Go on!
Greets from the Netherlands!
Dominic
Nice! Very easy to follow for beginners :) Sometimes its just hard to find some good classic tutorials and these are the kind I am looking for thanks a bunch Spoongraphics!
An excellent tutorial! I always wondered how one could make such interesting images so quickly. Thanks to you, I am learning!
thanks a lot
wow that is simple thx
it was good but alite hard for me i didnt complete it thow it confused me
Amazing is so simply, that is perfect,.. very good tutorial,. excellent thanks for all
These are great. and easy to make.
We’re drawing this for class