This post was originally published in 2011
The tips and techniques explained may be outdated.
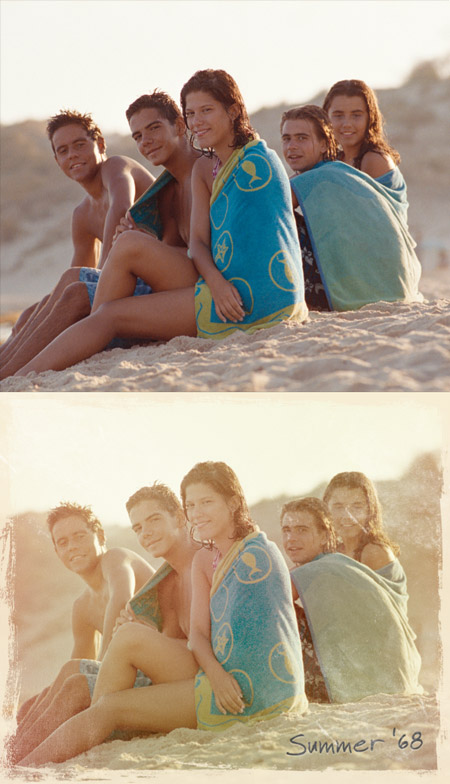
Follow this step by step guide to giving your photos a cool vintage Polaroid style effect in Photoshop. We’ll adjust the colours of the image with adjustment layers then use Photoshop brushes to distress the photograph for an aged appearance.
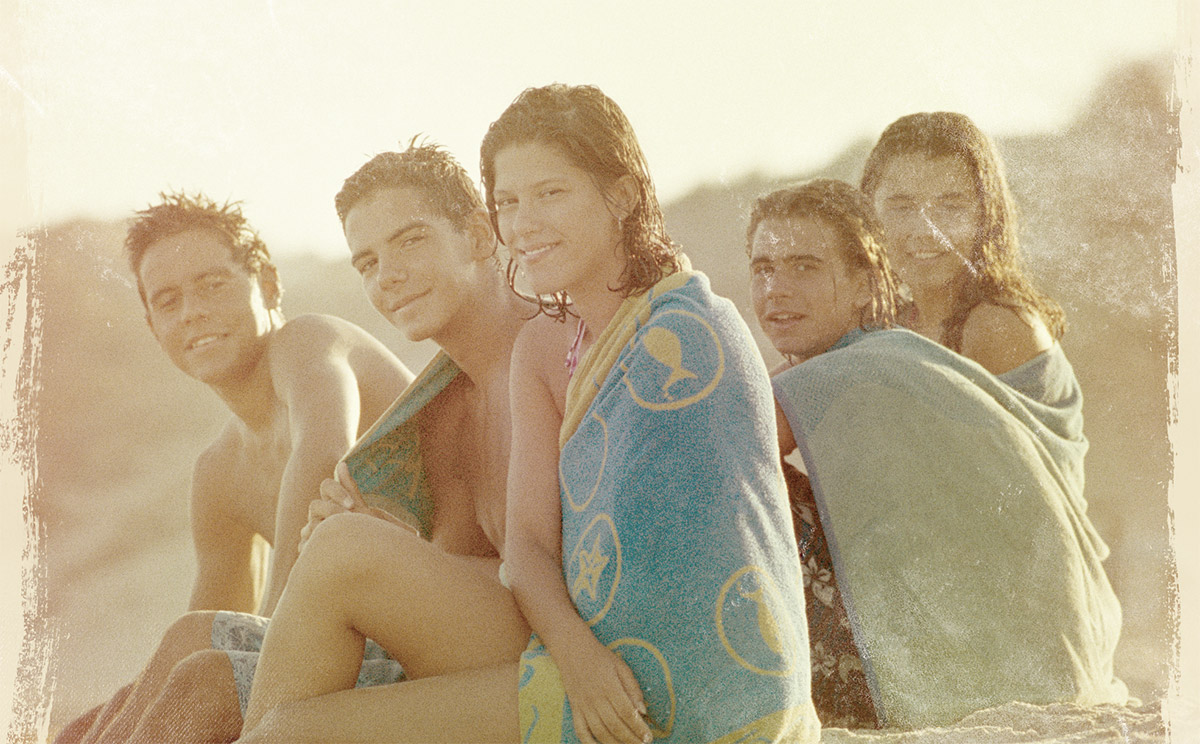
The vintage effect we’ll be creating transforms your photos with faded colour casts, aged marks and a distressed Polaroid style border to frame the shot. Subtle additions of noise and various overlays all help to achieve that old-time look.
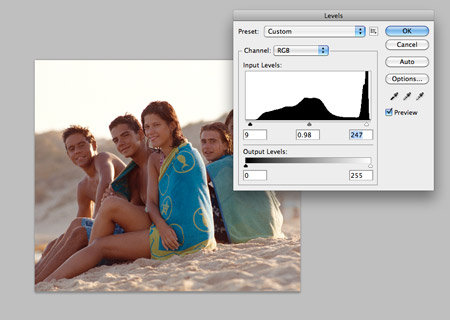
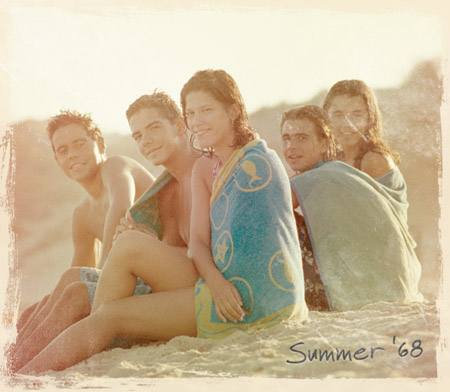
Open up your chosen image in Photoshop. Here I’ve picked out a nice Summer shot of a group of friends on the beach from ThinkStock. Make small Levels adjustments to increase the contrast slightly.
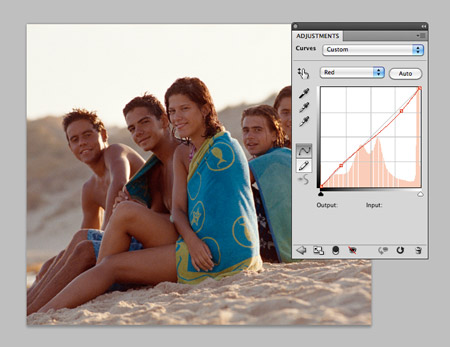
Add a Curves adjustment layer and change the drop down menu to select the Red channel. Begin manipulating the curves line into a slight inverted S-bend to begin adjusting the colours.
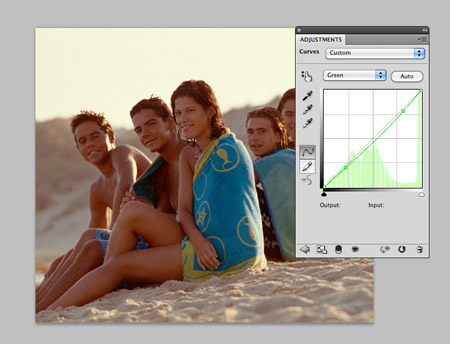
Change the drop down to the Green channel and make similar adjustments to the tones controlled by this channel.
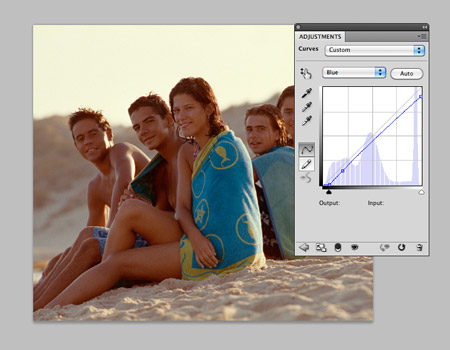
Adjust the Blue channel so the colours are clipped at the bottom and top areas of the graph. The result should be a retro looking mix of yellow and red.
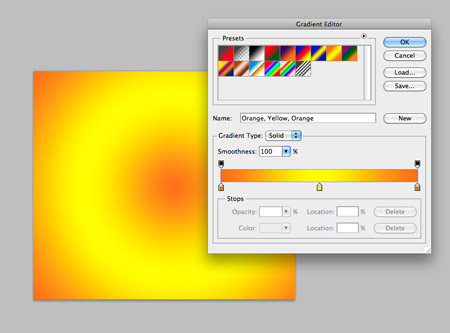
Select the Gradient Tool and set up an orange to yellow radial gradient. Drag this gradient across the canvas and set this layer to Soft Light at 50%.
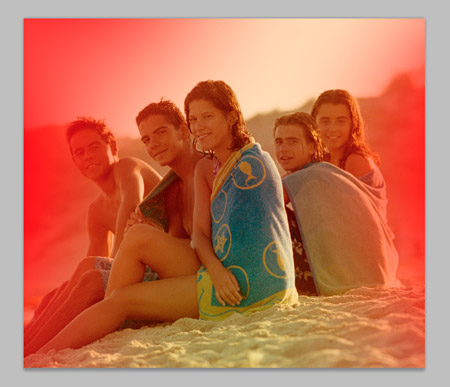
Paint in a couple of red brush marks around the edge of the photo and change the blending mode to Screen at 40% to create some subtle light leaks.
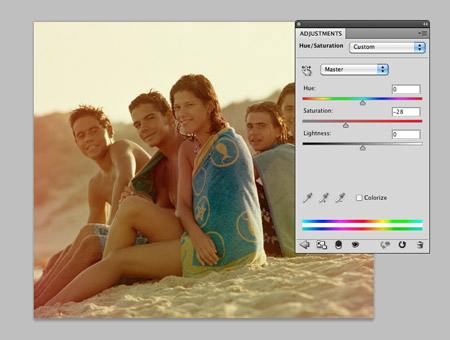
Add a Hue/Saturation adjustment layer at the top of the layer stack and finely tune the saturation level to tone down the impact of the colours.
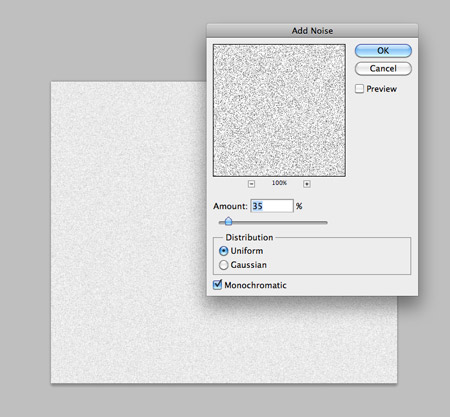
Fill a new layer with white, then go to Filter > Noise > Add Noise with the settings of 35%, Uniform, Monochromatic. Set this layer to Soft Light at 50%.
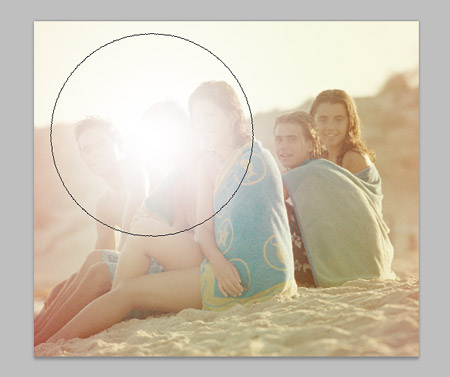
Paint a white highlight near the centre of the image using a large soft brush. Set this layer to Soft Light at around 90%.
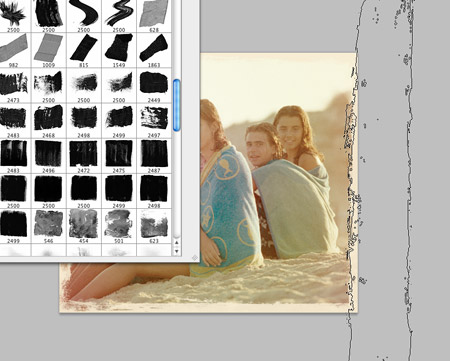
Use a couple of brush stroke Photoshop brushes to paint in a distressed border around the edge of the picture to create an old Polaroid style frame.
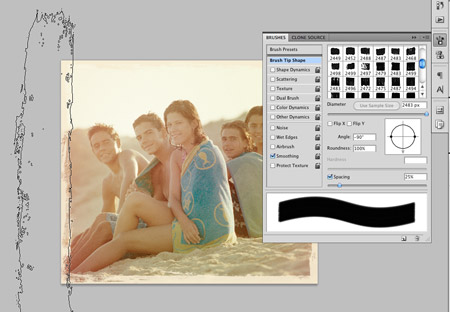
When using Photoshop brushes, alter the angle by adjusting the target shaped icon in order to paint the border in each direction around the edge of the canvas.
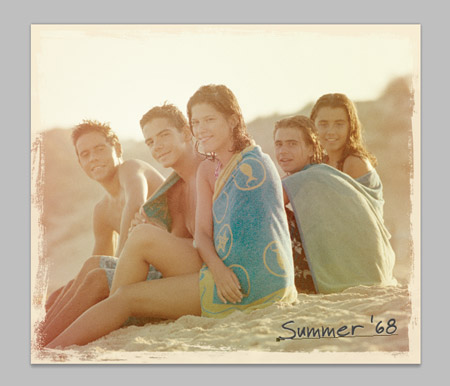
A handwritten note on the photo stating the year helps tap into the vintage theme. Here I’m using the cool Faraco Hand font.
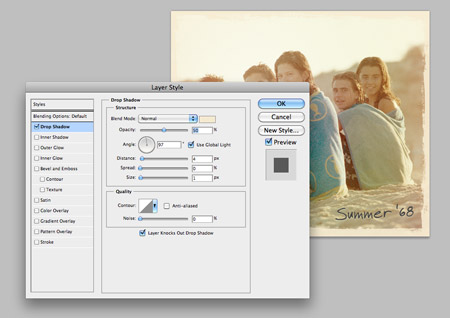
A subtle Drop Shadow effect adds a soft highlight on the bottom edge of the text to give the impression that the writing has been pressed into the photograph by the nib of the pen.
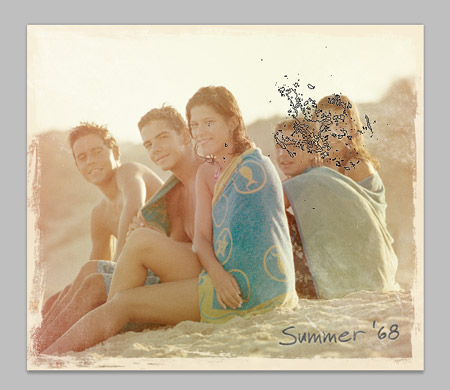
Finish off the vintage photo effect with some distressed marks and signs of age using these awesome Subtle Grunge brushes.

Awesome tutorial, thanks so much!!
Absolutely ADORE Vintage style effects!
excellent…. so vintage… :)
useful tips you sharing. thanks
Love this! Thanks for sharing.. \(^_^)/
Another vintage tutorial! Love it :)
Thanks for sharing :)
Nice tutorial :D
Cool tutorial! First thing came to mind when I saw the output was adding some Photo Filter with something like warm color to get the vintage feel, then with some other stuff. That’s what I love about tutorials, there is always something new to learn.
Thanks!
Very cool. Thanks Chris!
Excellent job Chris, spectacular results.
Great Job Spooner.. KEEP IT UP…
just one suggestion if you can put lil more detail in the step it will be an AWESOME TUTORIAL.
Excellent tutorial …… Great Job :-)
Nice tips … I like some of these effects. But it doesn’t really look like a Polaroid. (I shoot integral and peel-apart films, so I’m very familiar with what they look like.) This looks more like an Instagram or Hipstamatic iPhone filter effect to me.
¡Gracias Amigo! Muy interesante y práctico todo. =).
Love it, love it!!!
good one chris
As always, the complexity of your tutorial is well complemented by clear explanations.
Will try this one out. Thanks!
Very cool tutorial!
very col tutorial, great stuff!
Nice tutorial, thanks!
Another great tutorial. Thanks Chris!
Great tip!
Thanks for sharing!
Martin
Cool Effect, thank you, chris!
Excellent effect. I love the vintage look. Bookmarked.
Love this. Thanks Chris. Have you also tried Shake it Photo, the iphone app?
Excellent Tut
Nice Share :) Keep Posting This Of Tutorial
Thanks, great tutorial.
good comment
Awesome tutorial!! I love the old vintage effect so I’ll definitely have to try this one out. =)
nice information
nice indeed.
The information will be useful to us in a nice sharing.
Nice …Thank you
Thank you for this great job
Nice tutorial, great ftuff :))
What a fun posting! Great tutorial.
cool tutorial, reminds me of my childhood. will use some of the techniques, thanks.
many thanks. excellent effect and very well written. =)