
This post was originally published in 2008
The tips and techniques explained may be outdated.
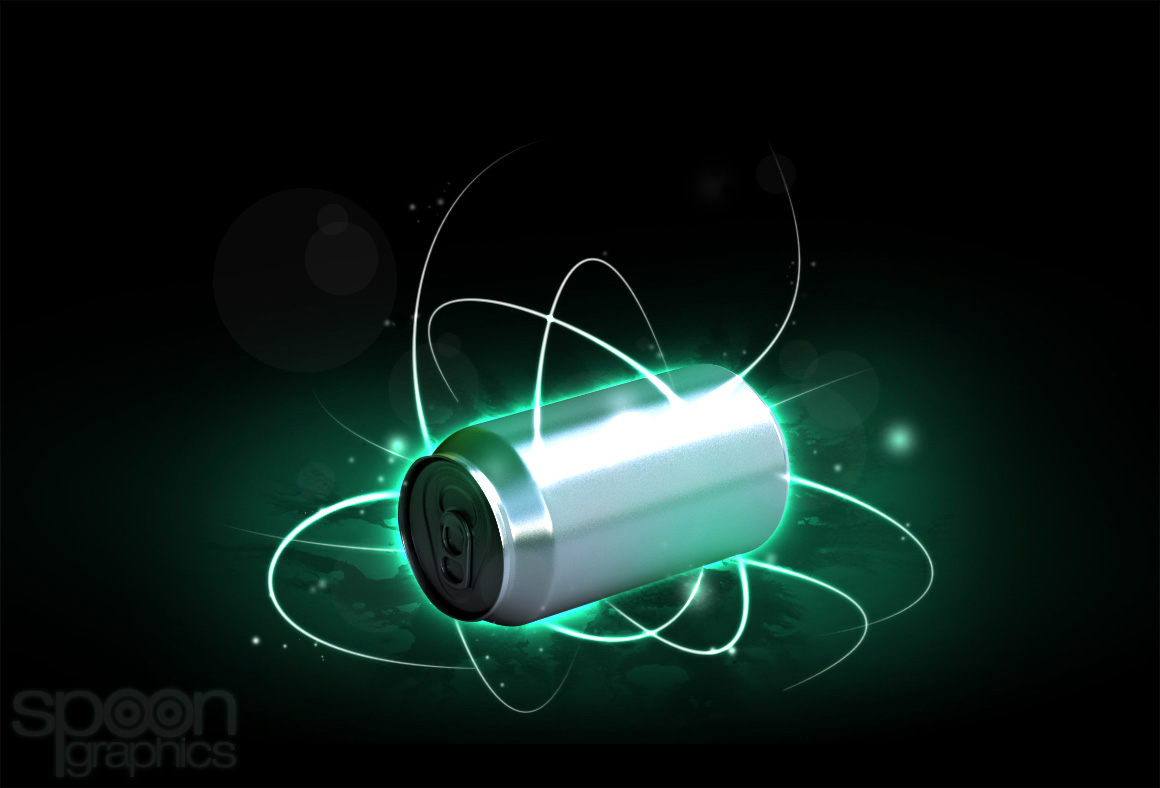
A couple of subscribers left their comment on a previous post that collated a range of inspiring graphic artwork from digital artists across the world. The commentors asked how the light stream effect on some of the pieces was created. I did a little research and picked up a couple of tips from similar tutorials to present a walkthrough on how to create intense light streaks flowing around an object or person.
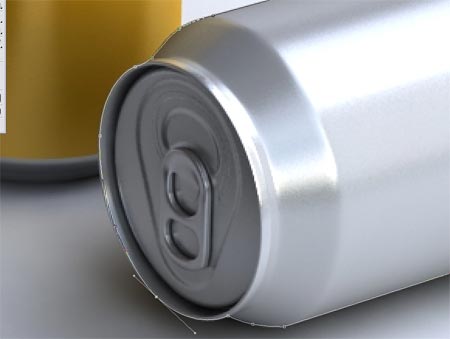
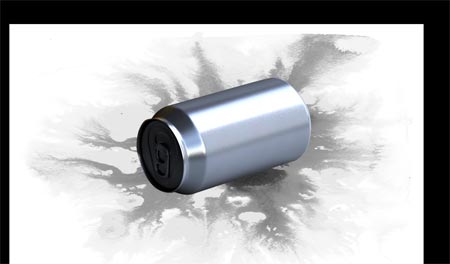
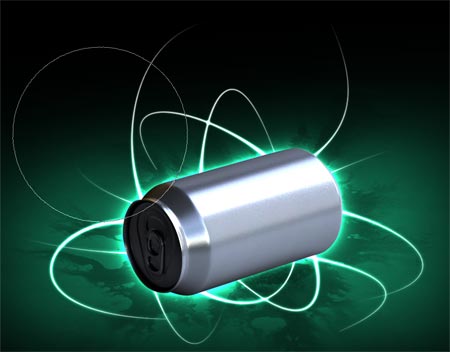
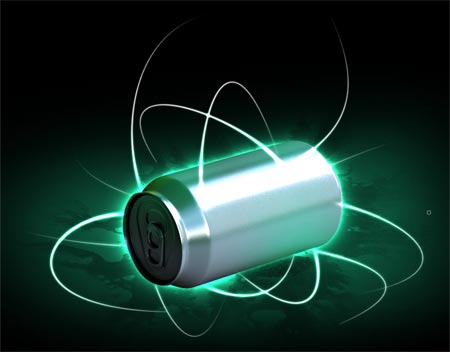
Firstly find a subject to base the flowing light streams on. I picked out an image of a drinks can to relate to the original piece of artwork that inspired the subscriber.
Using the Pen Tool draw a path around the object, make the selection and paste into a new document using a black background.
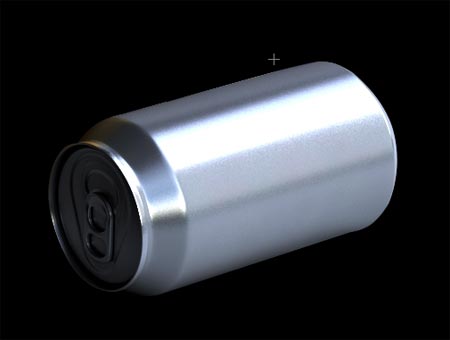
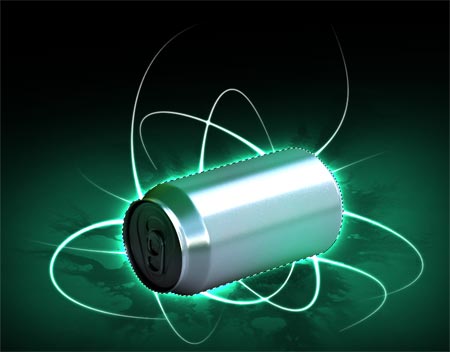
Reselect the object by CMD/CTRL + Click on the layer, go to Select > Feather and enter 1px. Inverse the selection and hit delete.
Duplicate the layer and set the layer style to Multiply, drop the Opacity to suit.
These tips help the object blend with the background a little more realistically by erasing out the hard edges and altering the lighting and shadows.
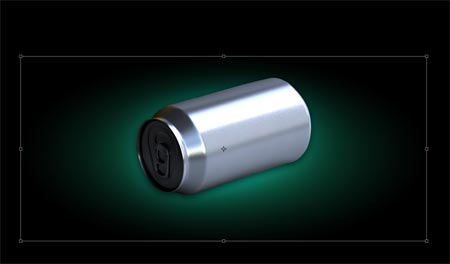
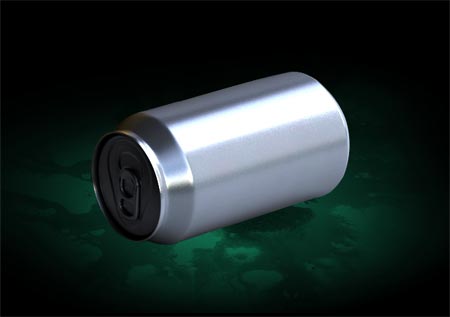
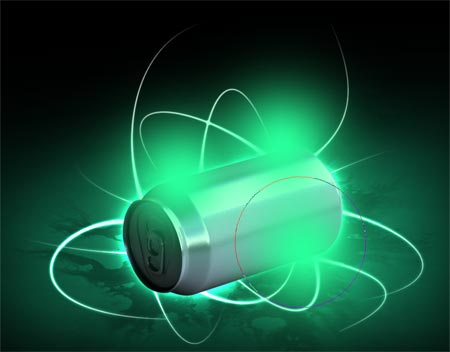
On a new layer draw a circular marquee and add a Gradient fading to black with a colour of your choice, here I've chosen a cool green.
Transform the gradient and squash it vertically to add a little perspective.
Open up some kind of texture and paste it into the document. This particular image is a watercolour texture from the GoMedia Freebies. Desaturate to remove the colour.
Change the blending mode to Multiply to render the white areas of the texture transparent.
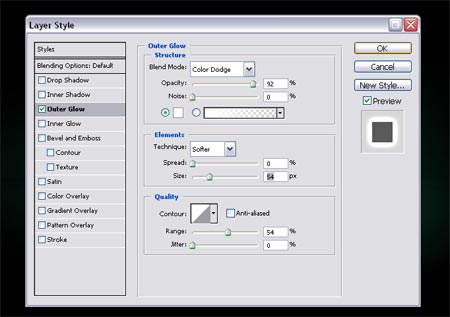
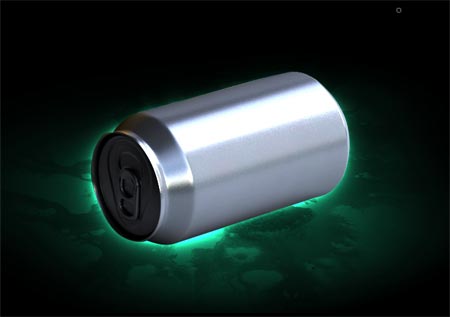
Back on the can or object layer add an Outer Glow through the Layer Styles, the key is to change the blending mode to Color Dodge to give a really intense glow.
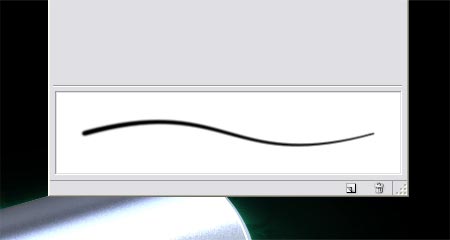
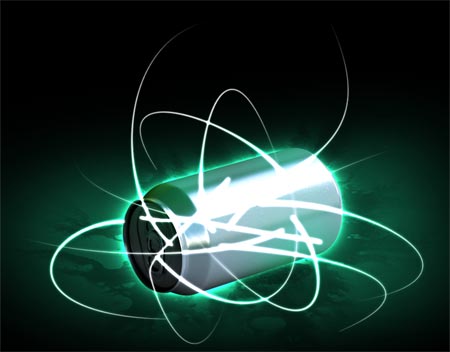
Prepare a brush for creating the flowing light streams, experiment with the brush settings to give a thin tapered stroke. The main option to adjust is the Control and Minimum Diameter settings in the Shape Dynamics section.
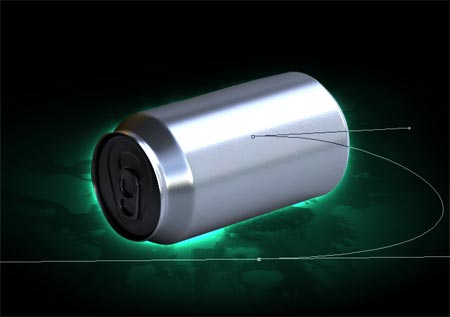
Use the Pen Tool to draw a smooth flowing path, with the Pen Tool still selected right click and select Stroke Path, ensure the Brush option is selected along with Simulate Pressure.

Add another Outer Glow to the layer of the brush stroke using similar Color Dodge settings.
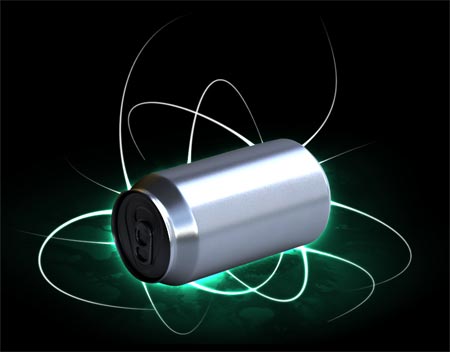
Draw as many streams as you like around the object, keeping the lines flowing as smoothly as possible in a variety of directions.
The Color Dodge effect works the best when the objects overlap the coloured gradient, here I scale up the gradient to allow for more light effects around the object.
Unfortunately the straight edges of the texture layer show through, use a large eraser to blend them out.
Add a little atmosphere to the object by placing a few blobs of colour on a new layer. Changing the blending mode to Soft Light will give a slight green glow to the object as if it is reflecting the green light from the intense glowing lines, overall adding a little more realism.
Make a selection from the object layer, inverse and delete out the unwanted area.
The light streams look okay flowing out from underneath the object but they would look a little better if they interacted in some way. Move the light stream layer above the object.
Erase out the majority of the lines leaving select areas which blend into or around the object.
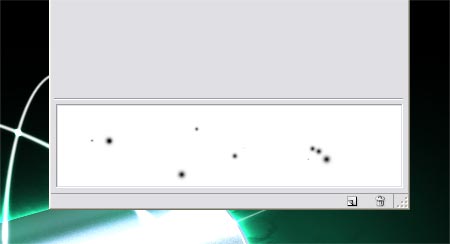
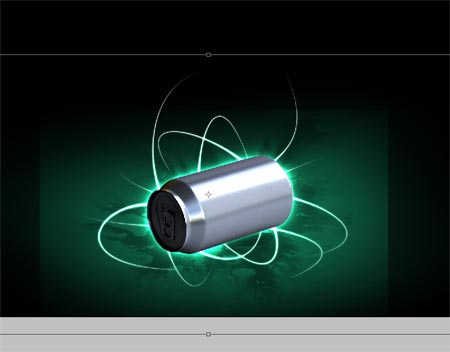
A common addition to this trendy style is an array of glowing light particles. Setup another brush, this time play around with the Scatter, Spacing and Size Jitter options.
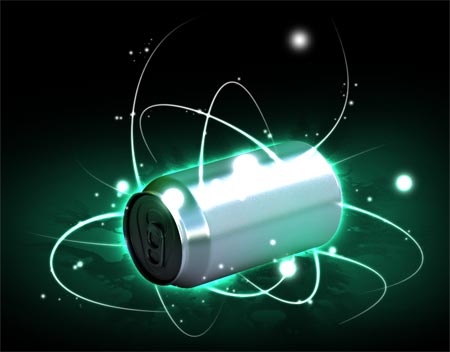
Brush in a range of dots and blobs with varying brush sizes to cover the whole of the object and flowing lines. Add the same Outer Glow layer style as the light stream layer.
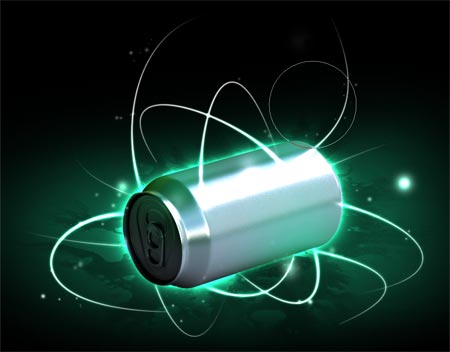
Erase out the most of the particles to leave a subtle effect with slight differences in opacity.
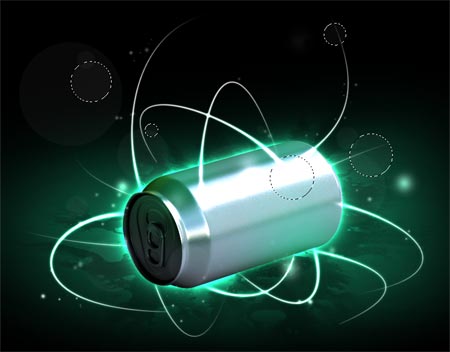
Finish off the image with a few focal rings on multiple layers with very low opacity. These help relate to the objects that appear when photographing light with a camera, adding a little extra realism.

thanks a lot.
I’ve found another tutorial wich is completly different but with the same result. i will try this one too. this effect is finaly simple to realise.
Thanks again
Hello Mr Spoon,
Great touches. I really like the way you used the selection tool to create the camera lens blur with opacity effect sweet. Ive been playing around with this technique for some time always a little belter :D
Heres a promo I did a couple of weeks ago
Take care
Mali
Another sweet tutorial. Very cool techniques to create the light streaks and light particles. Thanks!
so sick man !!! awesome !!!
thanks
Fantastic tutorial: Real quality. Thank you for sharing your techniques. It’s genuinely appreciated.
Ah yeah ! great :-)
Is this Tutorial for CS3 only? tried this in CS and some features aren’t working….. Will it work at least in CS2?
Could you give us some details on how to set up the brush for the flowing light streams? I couldn’t get a pretty brush
Fantastic tutorial: Real quality
Thanks for sharing! This is great, I mean amazing :)
Very cooll !
Nice and simple!!
Your work is inspiring, your tutorials are the most useful ever! thanks bunches!~
Ok, really cool effects, but you should have pasted another screenshot of yor brush settings, i couldn’t get a good one :/
But thanks for a great guide anyway, it could have been more detailed though.
hi
I’m korea girl.
nice to me to :)
your tutorials very good!
Wow.
That’s pretty awesome.
Honestly, I think that Photoshop is very easy to use.
You just need to know what to do, to make things look good.
And you, my friend, you know.
Hey i thought this was a great tut but something you should consider is not everyone knows as much as you high level designers. I have been confused through so much of this and it has stressed me out. I catch on quick but i just cant seem to get it down. Other than that this is a great great tut and the resualts were just amazing. Keep up this amazing work and i wil keep posted for more!
very nice
you need to be more detailed, most of us arent professional designers
Cool! Nicely done.
this is great!
thanks alot
nice
trying but cant get the flowing light streams, can anyone help me? I use the pen tool and created a smooth flowing path, but when I right click I cannot select Stroke Path? what am I doing wrong?
Fun! I chose purple.
Hi, good tips but i only recently got Photoshop, can sum1 pllz send me a step by step version of this guide. This is a good guide only i dont know how to do many of the things on this guide. Can sum1 send me a step by step version pllz? What i meen by step by step is: layer–> arrange–> send to back etc.
My email is:
jonny9080@hotmail.com
Thx again
cool, cool,
but make a movie clip? kinda hard to understand by reading
exelente 1000 gracias
This was a great tutorial
Ive been looking for a this exact one and it was really helpfull
id say im pretty great with my pen tool now :)
so thank you
This needs to be much more detailed for people who aren’t very good with Photoshop yet.
like Richard Said…
“…I use the pen tool and created a smooth flowing path, but when I right click I cannot select Stroke Path? what am I doing wrong?”
Pls and thankyou.
Great job! shame, not enough details.
great work!
Wow wonderfull effects,thx
HAHA This are not photoshop u make me sick..!!
not realistic tutorial.. maybe this are adobe after effects with trapcode 3d stroke , particular or shine effects.. this is a fake ,make noob us all.. xHEHE=)
This “are” too photoshop dummy. With photoshop the possiblitlities are endless.
and the “shine effects” are used with the color dodge blending mode. why is that so hard to understand? Try it for yourself dodo!
Great tut btw :)
Wow!I’ve to try it!
Really nice ;)
i dont understand
for me,its to complicated!!!!
but nice output though
Whoa man, I’m totally shocked. It always seemed so untouchable –these techniques and tricks to create such amazing effects–, but you brought it a little closer.
Reading the tutorials like this, slowly I’ll become able to realize my ideas.
Thank you very much!
damn… i cant make it.. can u make it step by step… or put the name where to click……..
nice tut!!….but the part of making a smooth line in brush is really tricky i think you missed to make a few more steps in that section (explaining how to make the right click and the stroke part). please if yo can make an adition or send to my email it will be great.!!
keep the good work!!!!
can you give me the background color code please ?
great work!
brilliant tutorial!!!! im an avid fan of spoongraphics tuts easy to follow if your an intermediate user of photoshop bit harder for a beginner mind
I can’t seem to get my brush to take that tapered shape for the streaks, despite using “fade” and “minimum diameter” in the “shape dynamics” section. Am I doing it wrong?
awesome mannnnnnnnnn!!^^
tanx
cool tutorial…
its really help a lot…
thnx thnx
Wow great tutorial
hmm.. it’s good tutorial.. thanks in tutoring me sir!! ^^
Thanks
it’s.. so cooll..
thanzzz for your inspiration..
Wow. Pretty cool tutorial. I love it!
Thank you very much
Nice tutorial.. well appreciated.. some more detail could have helped the non designers.
jus for non designers ;)
open a blank file
create a path> go to paths palette>
right click on the workpath> stroke path> check the simulate pressure> and you are done.. [use hard edge brush]
Hope it helps some one..
awesome! thanks
Works great with Gimp as well!
http://gimp.org/
hello great turorial,
i made this in real time in front of the camera.
http://www.lapp-pro.de
the technique is named Light Art Performance Photography, short LAPP.
It’s very nice.
Great touches. I really like the way you used the selection tool to create the camera lens blur with opacity effect sweet. Ive been playing around with this technique for some time always a little belte
Cause so many people say that this tutorial is to completed, you should make a video to show how you created these effects. That way the viewer will be able to follow exactly what you are doing, where the tools are, and how to use all the tools. use an idea.
really good tutorial
s
Brilliant job..thnx a lot.!!!!!
i got excellent results playing around with this tutorial!! MUCHAS THANK YOU VERY MUCHO AMIGO!! i like the way you don’t give much details in each step, letting me experiment myself with my own settings, and hard to copy exactly your work… tutorials MUST BE that way, to make people try his own approach, not to COPY the exact same effect… GREAT!
Err yeah it’s a great tutorial, thing is as most have said some of us aren’t as advanced. The main issues I have are:
1). How does one use the pen tool?
2). How do you prepare your own brush?
Thanks a lot, I was able to get up to the bit before the light streaks otherwise :)
@ El Confuso:
How to use the pen tool and prepare your own brushes?
EASY!
just go to google.com and type “how to use pen tool photoshop” or :”photoshop pen tool tutorial” and so on…
i’ll try to get u some tutorials in both subjects, from the thousands of bookmarks i have, but.. in the meantime, try google. Works for me everytime!.. that’s how i found this blog anyawys… well..
I did for the pen, and found 3 and tried them but so far, I don’t find them that useful…
That is very nice lights effects.
sorry, i am extremely frustrated here.. you’ve lost me at this bit:
“On a new layer draw a circular marquee and add a Gradient fading to black with a colour of your choice, here I’ve chosen a cool green.
Transform the gradient and squash it vertically to add a little perspective.”
i’ve tried to do this but i don’t even get close to the results in the illustration. Please can you be a little more explicit in your instructions.
thx
This “are†too photoshop dummy. With photoshop the possiblitlities are endless.
and the “shine effects†are used with the color dodge blending mode. why is that so hard to understand? Try it for yourself dodo!
Great tutorial
It is healthy, I shall come on your site more often, thank.,
Excellent site!,
cool tutorial. very helpfull. thank you
Happy Days