This post was originally published in 2010
The tips and techniques explained may be outdated.
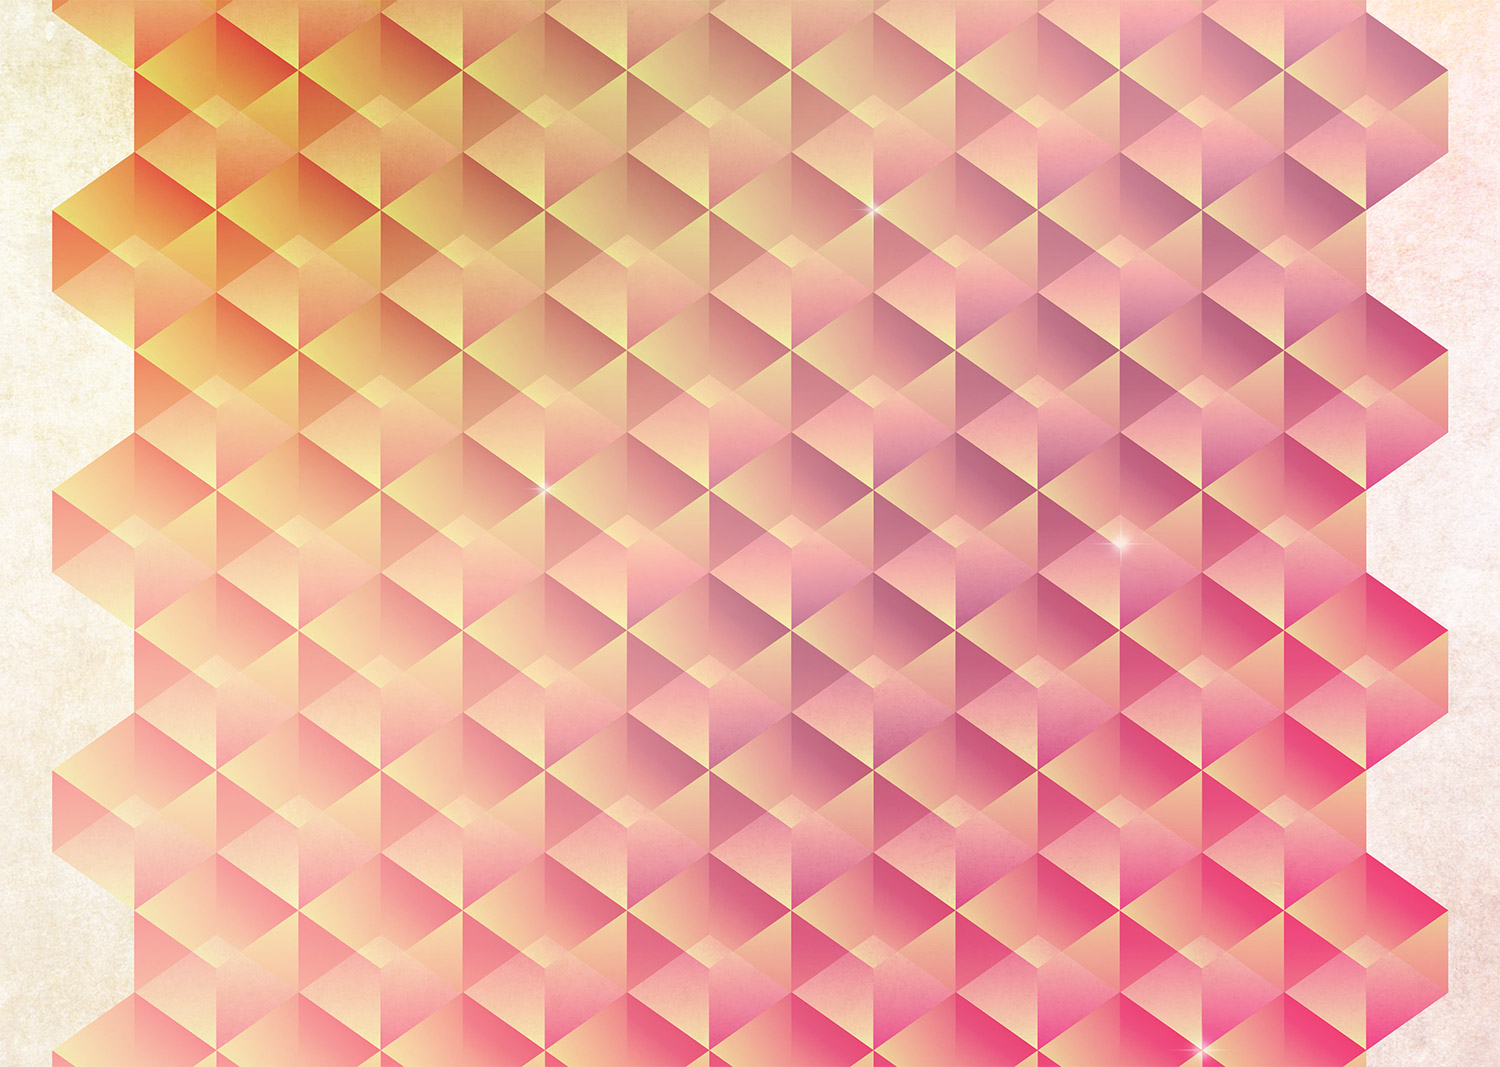
Follow this step by step tutorial to create a trendy geometric poster design with a series of tessellating three dimensional cubes. We’ll be creating the colourful shapes in Adobe Illustrator, then bring everything over to Photoshop to finish off the poster with subtle textures and colour casts.
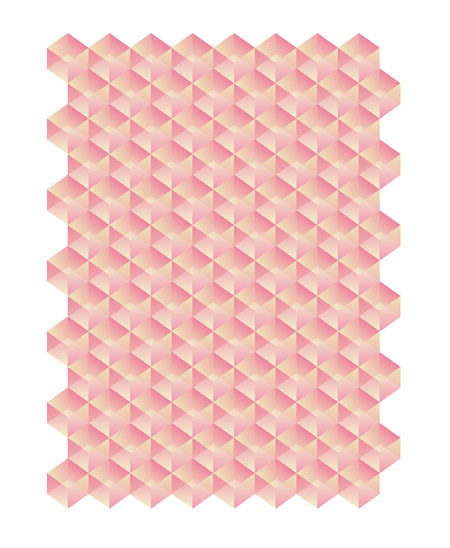
The design we’ll be creating is based on a series of tessellating cubes which together form a cool repeating pattern. When mixed with grungy textures and a range of colour overlays it creates a cool retro style geometric design.
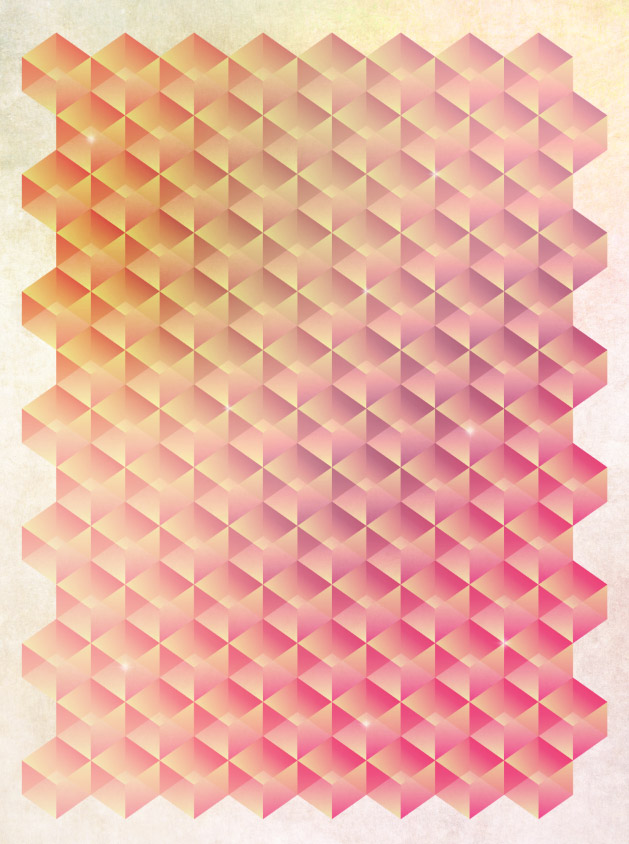
View the geometric poster design
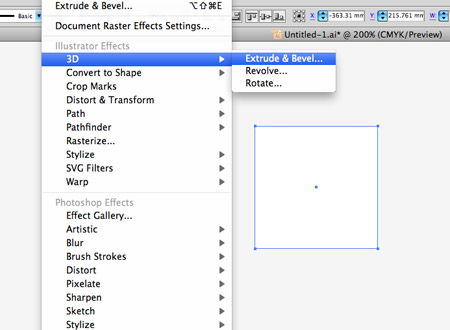
Open up Adobe Illustrator and draw a square on the artboard. Remove the default stroke by clicking the ‘clear’ icon in the toolbar, then head to Effect > 3D > Extrude & Bevel.
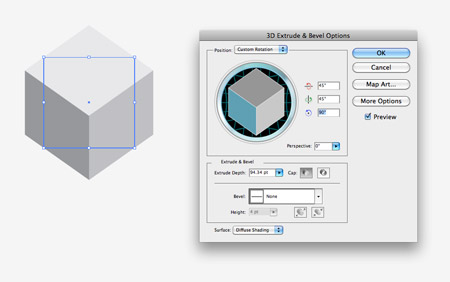
In the 3D options window, adjust the angles to 45 degrees, 45 degrees and 90 degrees. Change the shading to Diffuse Shading in the drop down menu then click OK.
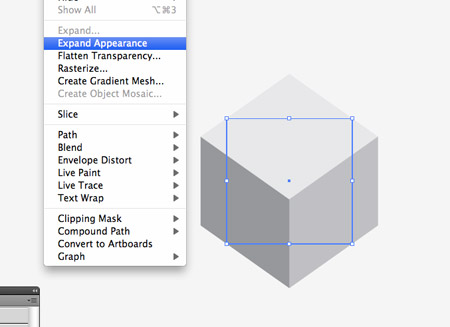
With the cube selected, go to Object > Expand Appearance to convert the shape into editable objects.
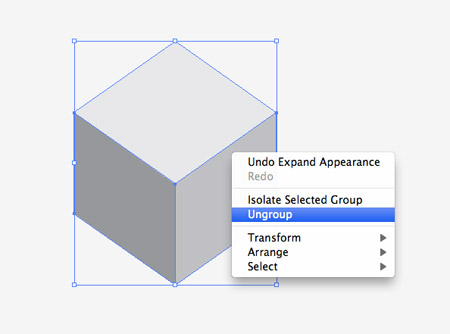
Right click on the cube and click Ungroup. The cube might be contained in multiple groups, so keep ungrouping until you can select each side individually.
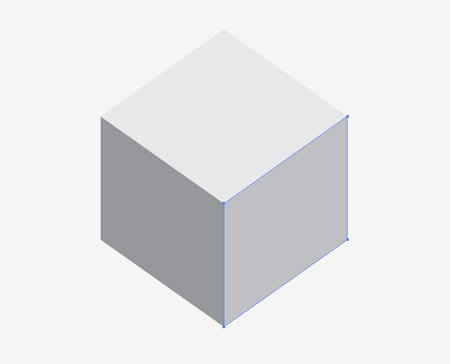
Draw a selection over the whole cube and set the transparency to 70%. Select one of the sides and copy (CMD+C), then paste in front (CMD+F). Begin moving this new shape to the opposite side.
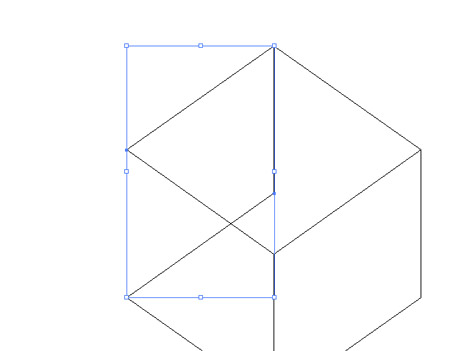
Press CMD+Y to toggle on outline view, then zoom in and carefully align the duplicated shape to fill the empty side of the cube. Repeat the process with the other empty side.
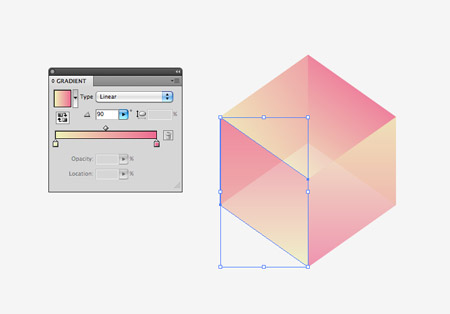
Select all the sides that make up the cube and change the fill to a soft pink to yellow gradient. Adjust the angles of the gradients to 90 degrees, -90 degrees and 45 degrees randomly on each side.
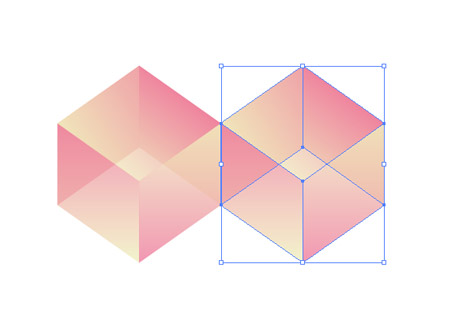
Group all the objects that make up the whole cube, then hold Shift and ALT while dragging the group to the right. Carefully line up the two edges side by side.
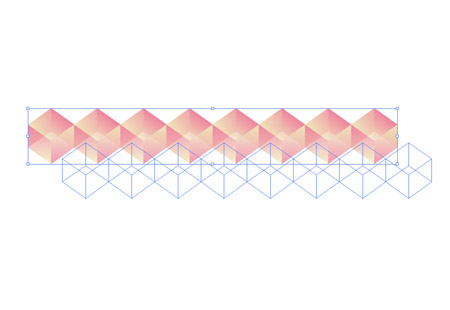
Press the shortcut CMD+D to repeat the duplication to form a long line of cubes, then select all the cubes and drag them diagonally downwards while holding ALT to form a new line.
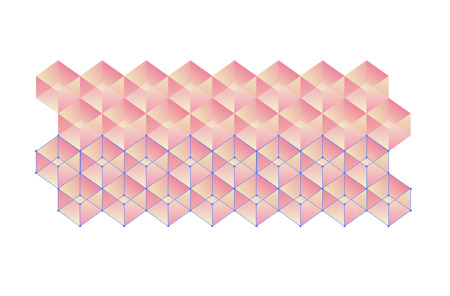
Draw a selection across the two lines of cubes and drag them while holding the ALT and Shift key. Align the group with the lower edge of the previous set.
Use the CMD+D shortcut to repeat the duplication until you have a series of shapes that would fit proportionately into a poster.
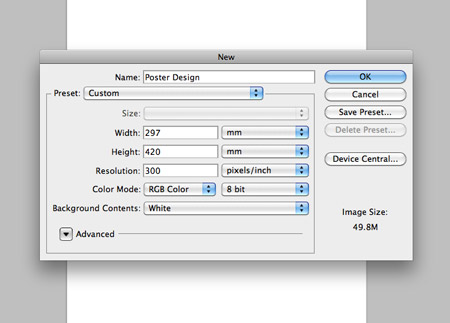
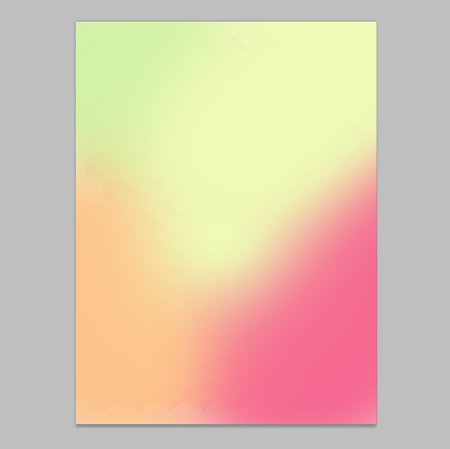
Head over to Adobe Photoshop and create a poster document at your desired size. Remember to use a 300ppi resolution so the poster can be printed professionally.
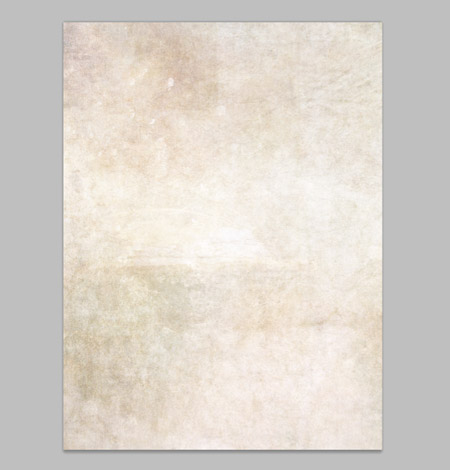
Place a subtle grunge texture into the document then tone down the effect by lowering the opacity to 50%.
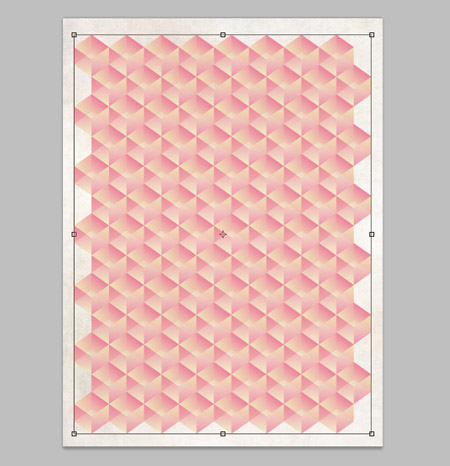
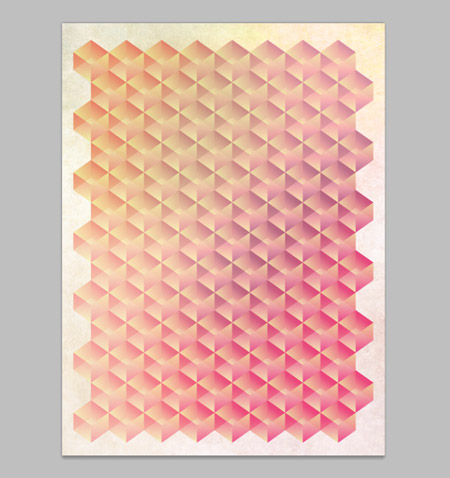
Paste in the group of cubes and position it centrally in the poster document. Leave a neat gap around the edges to form a natural border.
Use a large soft brush to paint in various colours, each on their own layer. I’m using lots of pastel type pinks, oranges, yellows and greens.
Go through each of the colour layers and toggle through the blending modes to find one that interacts well with the underlying layers. PC users can use the cursor keys, whereas Mac users can use the shortcut ‘Shift +/-‘. Overlay, Soft Light and Color Burn work particularly well.
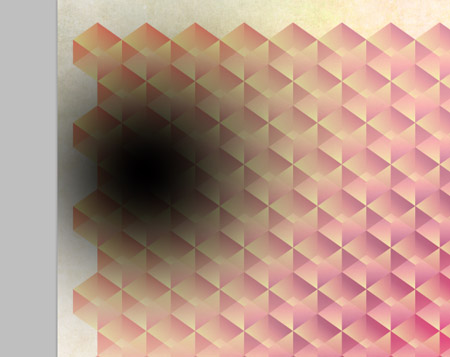
Dab a large spot of black in the top left and set the blending mode to Overlay at 45% to bring bump up the contrast on some of the cubes in this upper region.
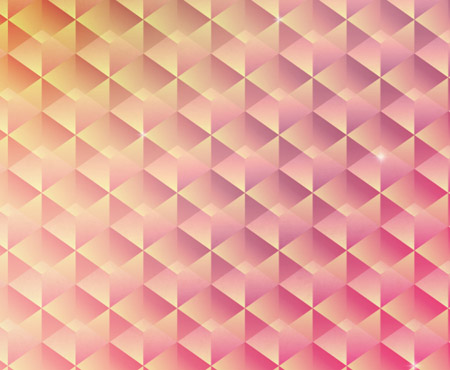
Finish off the poster by adding a few highlights/sparkles on corner points around the design.
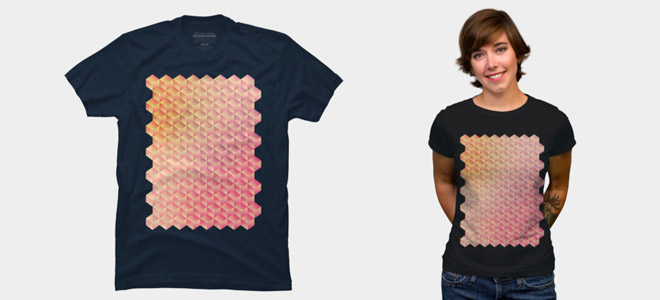
Love this design? Get the t-shirt!
우왕!!굿굿!!!good~
sweeet! thank you!
Great!! Nice job Chris
i was wondering how is this kind of effect was made :) it is really simple
thanks chris
Great job, as always.
Great tut Chris! Thanks
Excellent tutorial, I don’t have those programs I use Painter11, but still very informative and simple. Thanks Kev.
Great Thing. Thanks. it looks so cool :)
Nice effects I learned here, thanks once again!
Great tutorial…
Loving it! Always wanted to learn doing this kind of stuff! Thanks!
Simple and nothing hard it’s two day i try to make tutorial for this but you did not answer me !
Hi Chris. Really nice graphic stuff you provide, I must say. By the way, as I’m amateur with Ai and I was pursuing with this tut, I suffered an issue with the very initial step of 3D and Extrude thing. Your cube projects out of the square you have drawn whereas mine sticks within the square making it somewhat of a cuboid *sobs*. How do I do that? I would love to see you responding to this query asap. Cheers. Keep the great stuff on. :)
I think I may have initially had the same issue; Of course keep the values on the 3d effect as chris, but first set the units in illustrator to points (edit > preferences > units). Now when you set the 3d effects, make the ‘extrude depth’ the same as the height or width as your square. Hope this helps :)
Thanks Ian. That worked greatly well. That was really great of you. Cheers. :)
Gorgeous. I love the AI + PS workflow. Nice work.
Great tutorial! Love the design of the poster
You never cease to amaze me!
Nice, looks like a hand drawn drawing.
Epic one!
Really great tut..!!
Yes.. This is what im talking about..!
We need tutorials like this..!
Nothing can be clear than this..!
U rock bro..!! Awesome..!!
Keep them coming..!!
Great tutorial, I really learnt some new good effects and appreciate your hard work…
Hey man, thanks!
Here is what I made w/ your tut, I hope you enjoy it man!
http://i235.photobucket.com/albums/ee251/directoralvarez321/LovelyLadiesLiveLife.jpg
Very nice, thank you.
Great tut, thanks!
You are a hottie with an incredible talent.
nice work!!! love these helpful, quick tips :)
oooh thank you! love the shortcut tips!
Great tip! looks very nice.
Interesting Tutorial Step by step process thanks for sharing
Thanks so much, I always learn so much from your tutorials.