This post was originally published in 2011
The tips and techniques explained may be outdated.
Follow this step by step tutorial to create a colourful and vibrant abstract poster design. We’ll create a series of tessellating shapes using Illustrator’s Pathfinder tool, then begin adding colour swatches and gradients to bring the design to life. To finish the poster off, we’ll then import it into Photoshop to add some polish in the form of subtle textures.
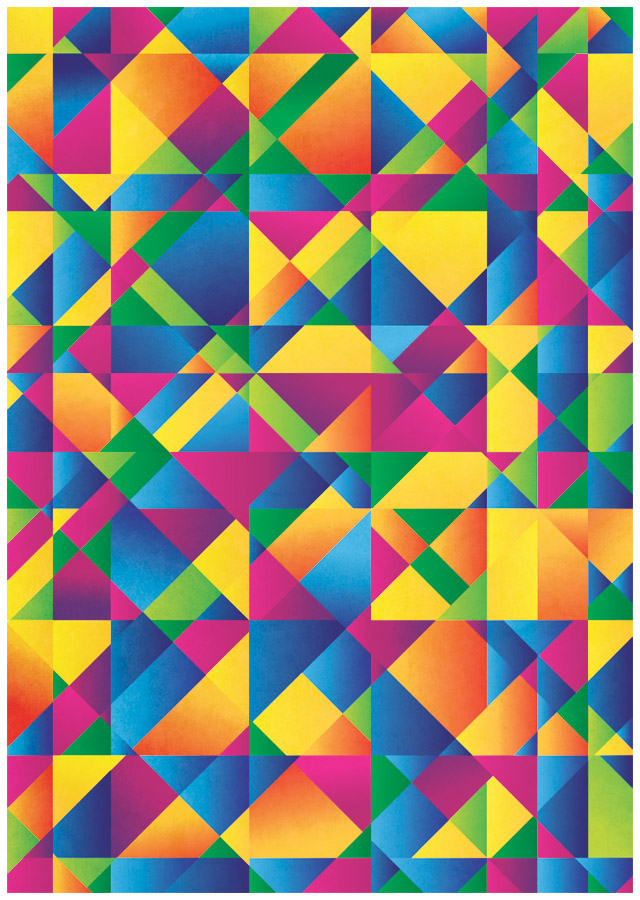
View the abstract poster design
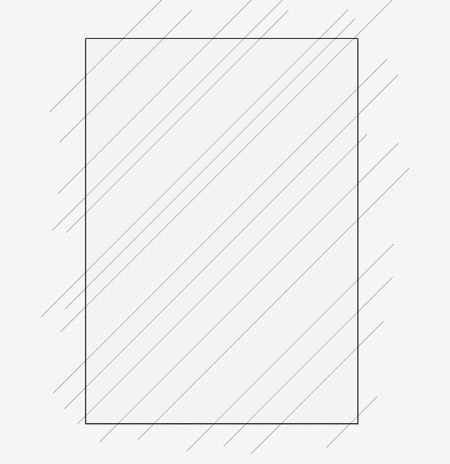
Open up Illustrator and create a document at the dimensions of your preference. Draw a rectangle to completely fill the artboard, then begin drawing diagonal lines across the document. Remember to hold Shift to constrain the axis.
Continue drawing more diagonal lines, this time in the opposite direction. Ensure all the lines start and end beyond the edges of the document.
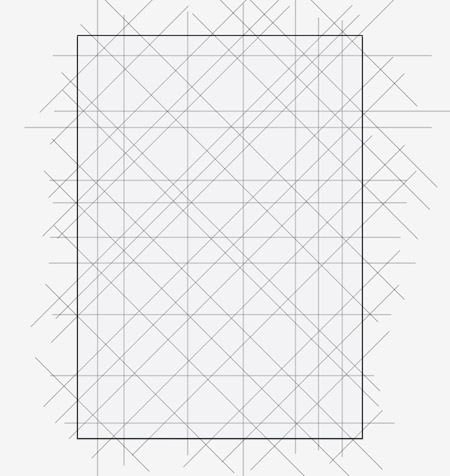
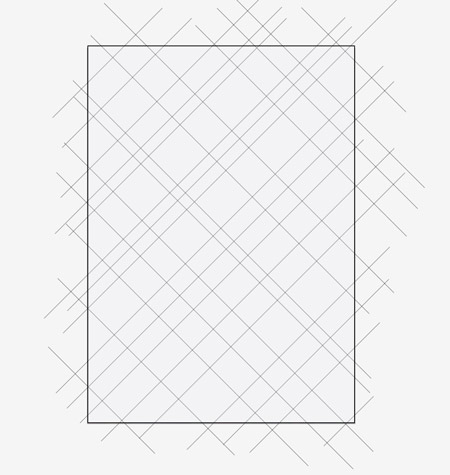
Repeat the process twice more, once with horizontal lines and again with vertical lines. The document should now be filled with plenty of intersecting lines.
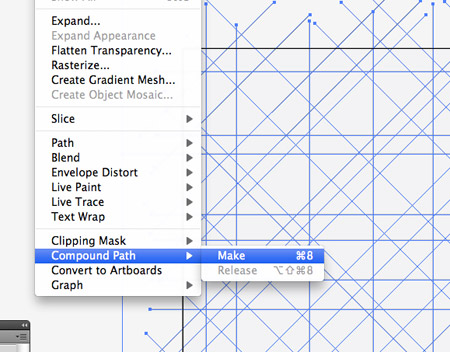
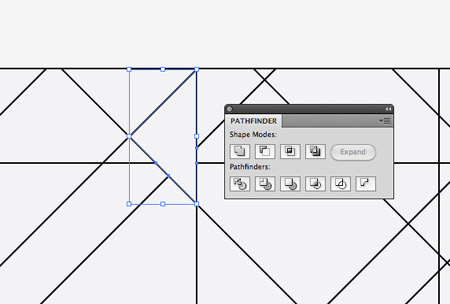
Draw a selection across all the elements, then Shift-click the main rectangle to deselect it. Make a Compound Path out of the selection of lines.
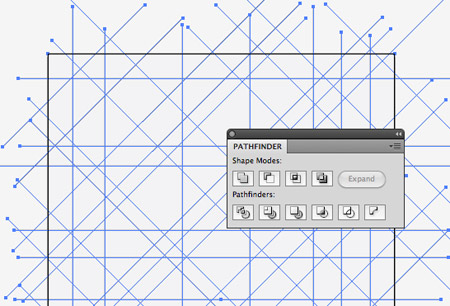
Shift-click the rectangle to bring it back into the selection, then click the Divide option from the Pathfinder palette.
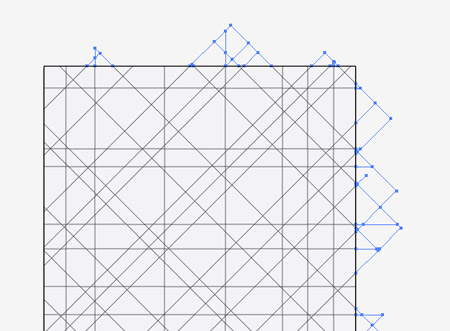
Right click and Ungroup, then draw a selection across all the excess lines around the edges of the document.
Some areas of the design where lines are closely intersecting are very small. Select all the tiny shapes and merge them with their neighbouring elements using the Pathfinder’s Unite option.

Go over the whole design from top to bottom merging groups of shapes to break up the flow of the linework.

Next, hold Shift and randomly select a bunch of shapes across the whole design. Give these shapes the first colour fill. Press CMD+2 to lock them so you don’t select them in the next step.
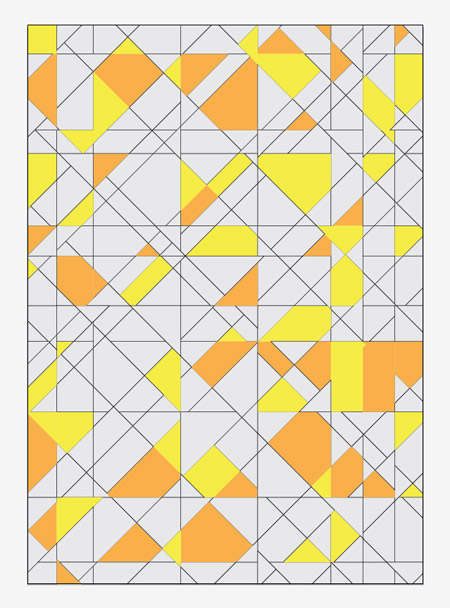
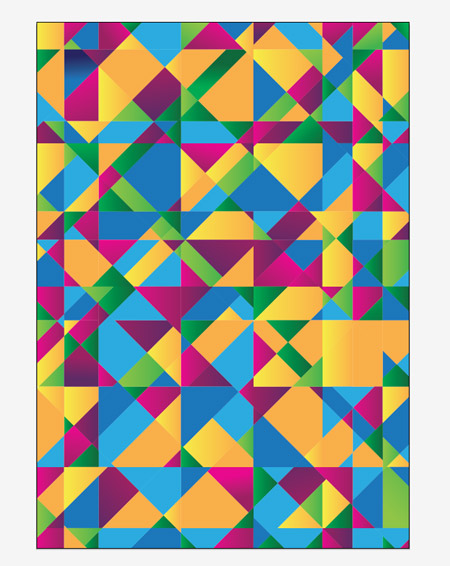
Select another bunch of random shapes and give these the next vibrant colour, this time a bright orange fill.
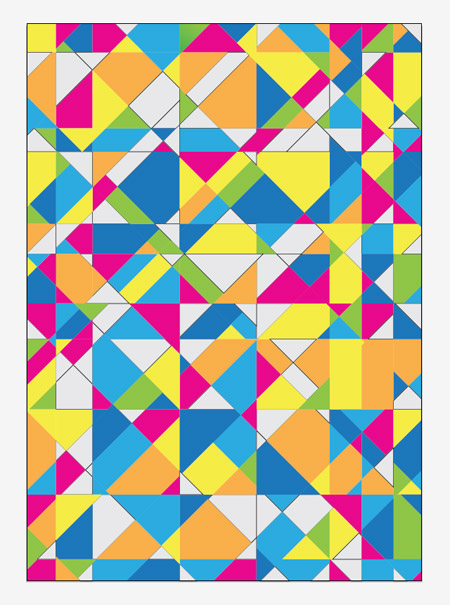
Continue the process of selecting, filling and locking shapes using blue, pink, green and purple.

The abstract design is starting to come to life now colour has been added, but it’s still looking a little flat.
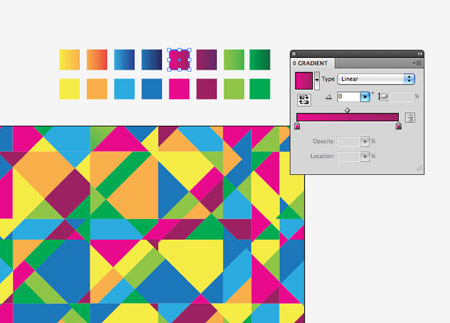
Make a copy your selection of colour swatches, then change the fills to gradients using a darker shade of each colour.
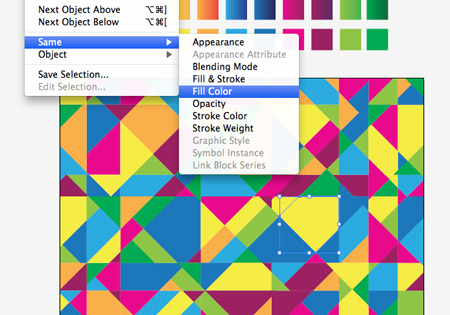
Select one of the coloured elements and go to Select > Same > Fill Color. Change their fill to the corresponding gradient using the Eye Dropper tool.
Repeat the process using the next colour swatch. Use the Gradient Tool to adjust the gradient angle on a few elements to mix up the directions.
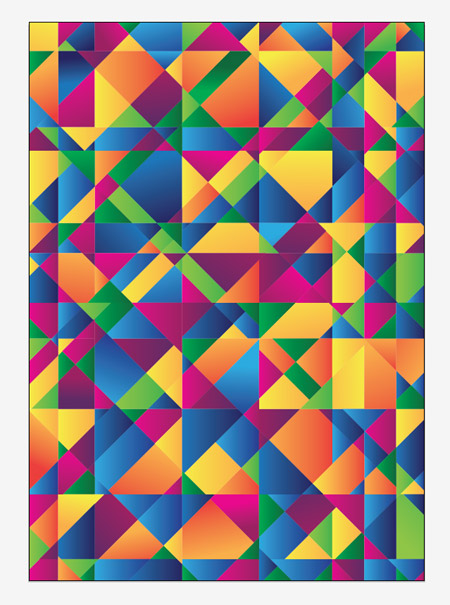
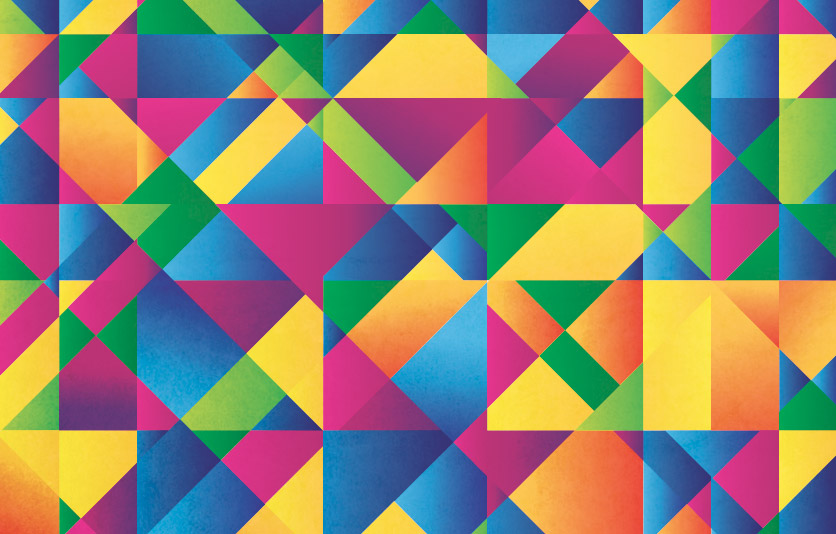
Once all the coloured elements have their gradients the design has a much bigger sense of depth where the shapes seem to stand out from the page.
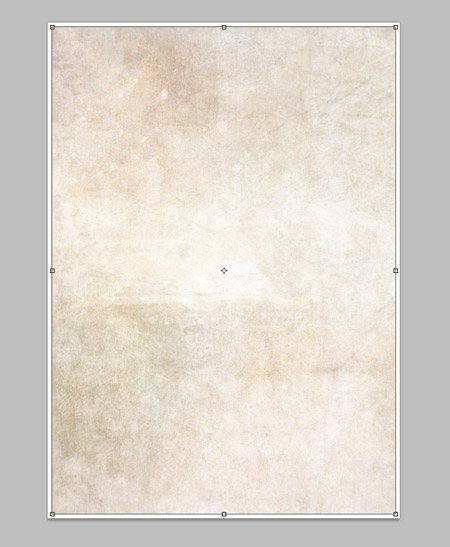
To finish off the design, copy everything and create a new document in Photoshop. Import a subtle texture into the background.
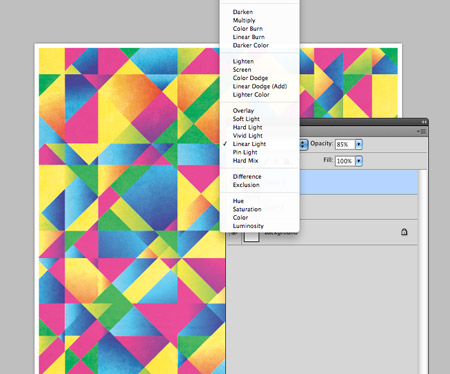
Paste in the vector elements into the Photoshop document and change the blending mode to Linear Light. Alter the opacity to around 80%.
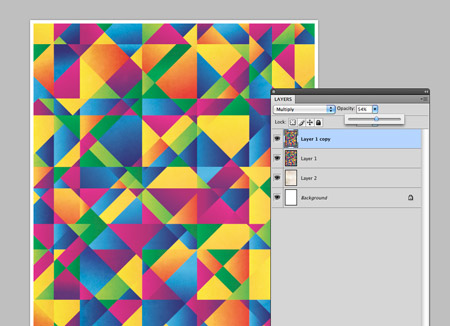
Some of the colours are a little too blown out, so paste in another copy of the vector elements. Change this layer to Multiply at around 55%.
The addition of subtle texture to the design really helps give the poster a tactile and more interesting feel, while the clever blending modes in Photoshop enhance and brighten the colours.
View the final abstract poster design
If you enjoyed this tutorial, please consider sharing it with others by retweeting or voting for it using the social media buttons below – It would be hugely appreciated!
Its great how this technique can be used in other methods for different designs! Love it!! And the colour is so amazing!
thanks chris – this is so cool!
i like your technique bro
Cool poster design, love it.
Damn that is one sexy looking poster! Thanks for sharing the technique!
awesome work. poster looks great. :)
wow, what a beaut!!! thanks for such a helpful tutorial, great 4 n00bz like me.
b/w “then draw a selection across all the excess lines around the edges of the document.”
then what – delete those paths?
Yeah that’s right – It looks like I cut my sentence short!
Thanks for this great and easy to follow tutorial :-)
Simple and beautiful! Thanks Chris :)
I know one thing, on such a poster, a nice big heading, using the Val or Val Stencil font in white would look awesome :)
What do you guys think about it :)
Was able to create a piece using your example in about 30 mins – http://joegodbee.com/kaleidoscope.jpg
Great technique!
will try it..its amazing..wanna learn it htis way
thx
Cool design, but I wouldn’t call it a tesselation.
Thanks a lot for the techniques, Chris!
Thanks for the kind comments everyone – Glad to hear you’re enjoying this one.
thanks for sharing such a great tutorial
Great design, very nice tut. Thanks Chris!
Great tutorial. Thanks Chris!
your tutorials are always great Chris! It’s really neat to see another designer’s approach & methods :)
Sweet poster! thumbs up!
very good! I liked it.
The gradient really make the artwork pop.
Hey guys. Thanks for another great tut, Chris. I do not understand how to create a gradient swatch from the colors I used in my poster. I have tried to create my own swatches before but, I am having trouble using the exact color, then darkening it and then applying a gradient. I guess between (here)”The abstract design is starting to come to life now colour has been added, but it’s still looking a little flat.” and (here) “Once all the coloured elements have their gradients the design has a much bigger sense of depth where the shapes seem to stand out from the page.” Can someone please explain. You dont need to dumb it up for me too much. I just don’t know why I dont know how to create these swatches. Thanks guys!|
Thank you. Great tutorial.
Very creative chris, i really like it, i may use this technique soon in one of my projects, thanx again .
Thanks for the nice tutorial!
Thanks, this was a great exercise in learning Illustrator’s capabilities! Very helpful.
nice poster and tutorial! well done.
Awesome effect. Looks very 80’s haha
after i create the color shades i cant select any object, they are all lock from the step number nine. how do i select them?
idk i have the same prob bob
I’m a student, & really love your tutorials.
thanx for making them available to everyone, appreciate it!
could u make a tutorial for CHIBI anime, plz!
very nice effect.
An artwork by itself … The key is color harmony which you did quite well … Thanks Chris
Where and how do you start wtih colors? Do you have any inspiration for that?
Thank you very much Chris
The multiple techniques you show here are helpful for many projects. And BTW the design and the colors you choosed are art in itself!