This post was originally published in 2007
The tips and techniques explained may be outdated.
This simple effect in Photoshop effectively increases the luminosity range of an ordinary photograph, giving a wide spectrum of tones and contrast. The effect was originally discovered whilst I was trying to replicate the style of HDR photography in Adobe Photoshop. Whilst the outcome doesn’t quite compare to HDR, the resulting effect is still pretty cool!

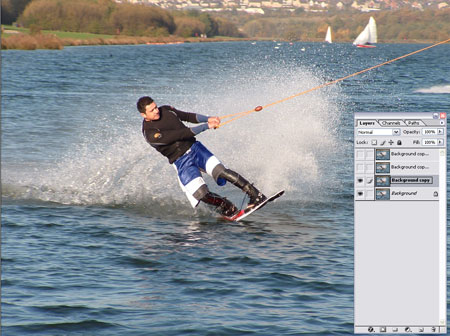
Open up your desired image in Adobe Photoshop, in this case I am using one of my photographs of a Waterskier. The image straight from the digital camera looks quite bland and lacks in range and contrast.
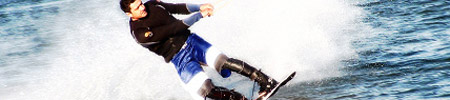
By completing the following steps the photograph can be transformed as follows, giving an interesting increase in brightness, contrast and tone.

In Photoshop, duplicate the background layer of your image three times, then hide the top two for now.
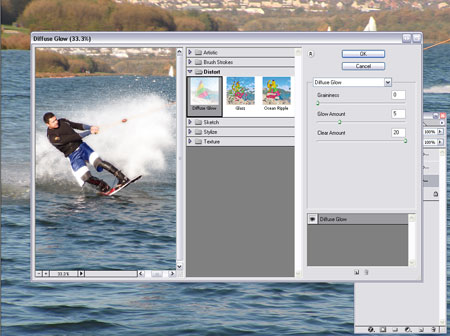
On the first duplicated layer add a Diffuse Glow effect (Filter > Distort > Diffuse Glow), select the following settings:
0 for the Graininess
5 for Glow Amount (or your preferred amount)
20 for Clear Amount
The Diffuse Glow adds extreme highlights to the image which will represent the high end of the luminosity range.
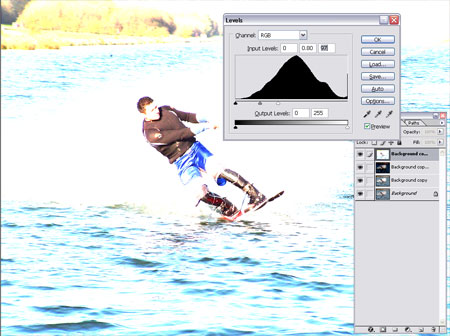
On the second duplicated layer adjust the Levels (CTRL/CMD + L) to give a really dark, underexposed image.
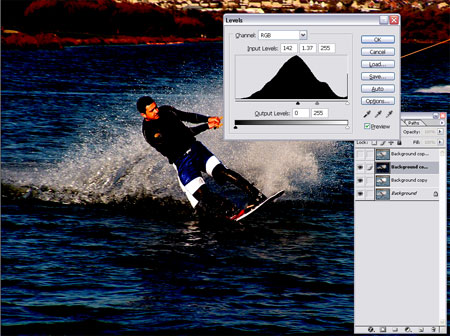
Then on the third duplicated layer adjust the Levels (CTRL/CMD+ L) to give a really bright, overexposed image.
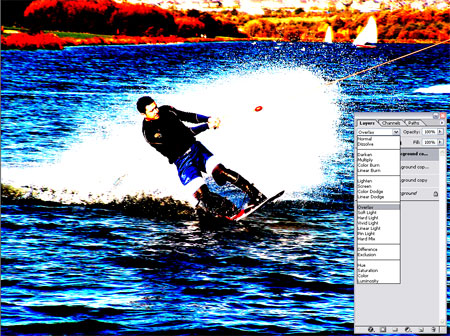
Set all the duplicated layers to Overlay in the Layer Style Dropdown.
Finally, adjust the Opacity of each of the three layers individually to fine tune the tones of the image by moving the slider on the Layers Palette. For example if the image is too dark, reduce the opacity of the 'underexposed' layer, if the image is too bright reduce the opacity of the light 'overexposed' layer. Similarly, adjust the Diffuse Glow layer to add or reduce the luminous highlights on the brightest areas of the image.
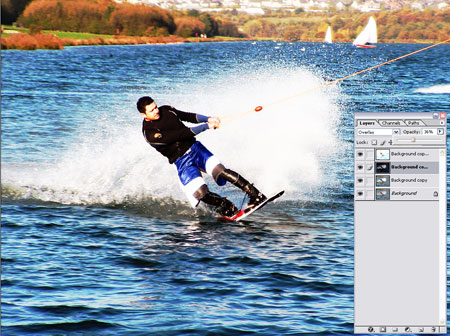
The image is left with an increased range of contrast and tone, from very dark areas of black through to extremely bright, exposed highlights.

Great tutorial. I’ve been using many techniques to achieve that effect but this one is the best. The amount of adjustments you can make is simply great. I even automated the 15% transperancy for fast applying. Thanks once again it was a really usefull tut.
works pretty well on clowdy weather snow sports images. thanks!
Wow!! really appreciate this simple, but incredibly useful technique!!