
This post was originally published in 2008
The tips and techniques explained may be outdated.
Follow this Adobe Illustrator tutorial to create a range of simple vector objects based around the theme of a designer's lifestyle, then tile them together into a cool looking repeating pattern. The creation of objects based on Illustrator's basic shapes makes for a great tutorial for beginners while resulting in an awesome outcome which can be put to use in a range of design projects.
The idea of basing the pattern around a theme helps develop a list of objects that can be used within the pattern. Being a website owned by a designer and written for designers the topic of design is natural! Here's the list of stereotypical items we’ll be using that make up the lifestyle of any graphic or website designer:
- Macbook Pro Laptop
- Apple Mac Mouse
- Pencil
- Pen
- Ruler
- Set Square
- Notepad
- iPhone
- Mug of Coffee


The design will be based on a two-colour palette of browns, start work by creating a new Illustrator document and drawing a rectangle to fill out the artboard. Lock this object using CTRL + 2.
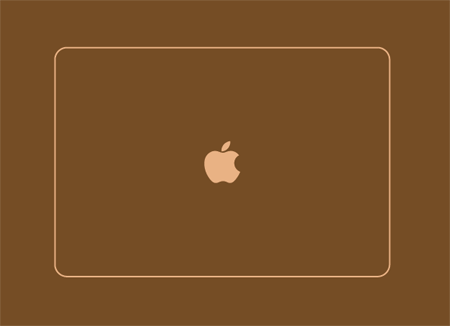
Using the Rounded Rectange Tool, draw a shape of similar proportions to the Macbook. While drawing the shape, use the cursor keys to adjust the corner radius. Head over to Brands of the World to quickly source an apple logo and align into place. Give the rectangle a stroke of 1pt and fill the logo with the same colour.
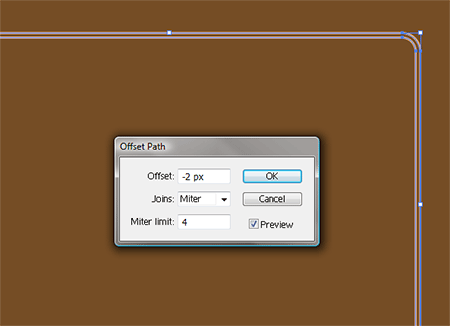
With the rectangle selected, go to Object > Path > Offset Path and enter -2px in the options box. Give this new rectangle a thinner stroke of 0.5pt.

Using the Direct Selection Tool delete out the two upper most points of the rectangle, this removes the top edge and corners.
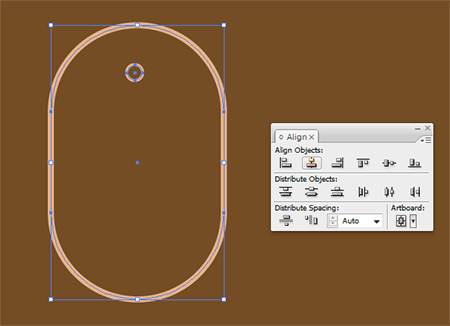
Use the Rounded Rectangle Tool again to draw the shape of the traditional Mac mouse, use a large corner radius for the heavily rounded edges. Draw a small circle to symbolise the tracking ball and add a 1pt and 0.5pt stroke respectively. Use the Align palette to line up the objects perfectly.
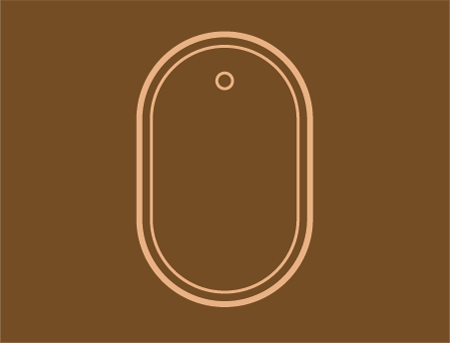
With the outer shape selected, repeat the process of offsetting the path, but this time use an distance of -1px and a 0.25pt stroke.
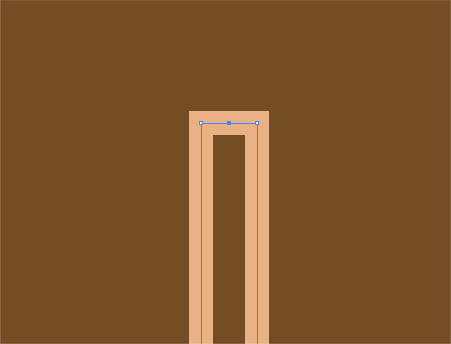
To create the pencil, draw a long and thin rectangle. In order to produce a point use the Pen Tool to add an extra point in the centre of the top edge.
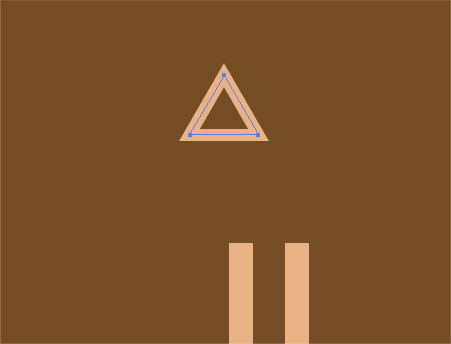
Select the Star Tool to create a triangle by pressing the cursor keys to reduce the number of points to three. Hold Alt and Shift to hold the triangle straight.
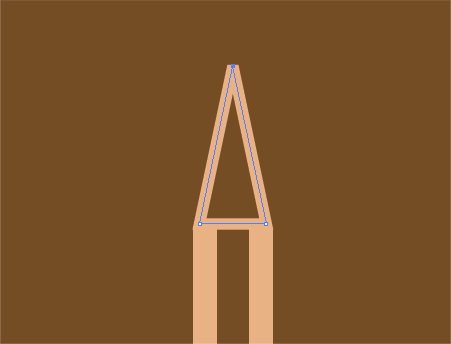
Use the Direct Selection Tool to drag to upper most point vertically giving a longer triangle to reflect the shape of a pencil point.
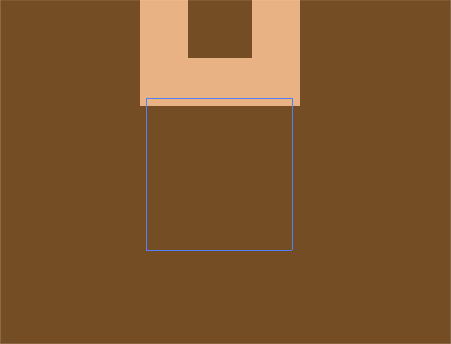
At the opposite end, draw a simple square to represent the eraser, fill this with the solid colour swatch.
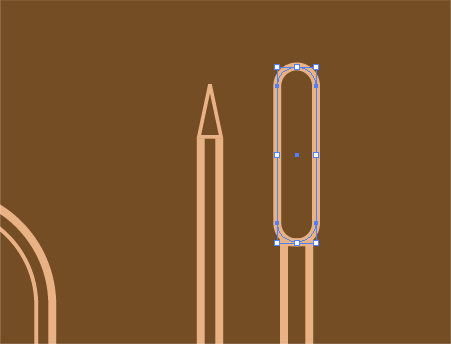
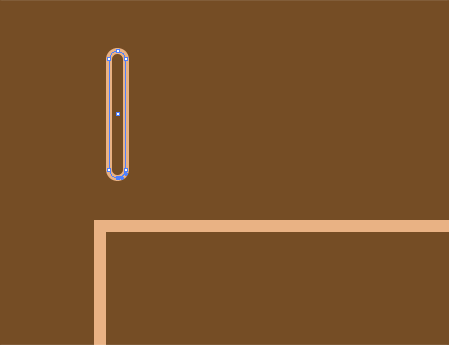
Onto the pen, draw another long, thin rectangle as the main body. Use the Rounded Rectangle Tool to create the shape of the lid, align this with the top of the body rectangle.
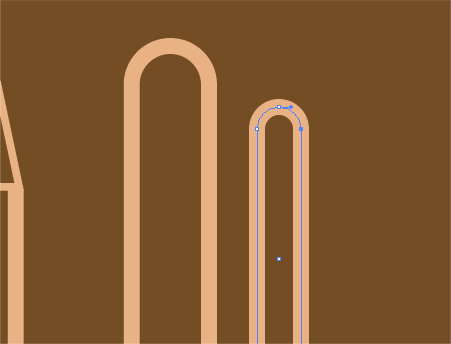
Draw another rounded rectangle, but at a slightly smaller scale. Use the Direct Selection Tool to delete out the points of its path leaving just a line and single curve.
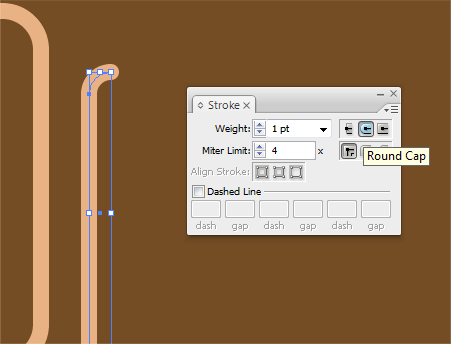
Add a Round Cap stroke to this line and position to the side of the pen lid to act as the hanging tab.
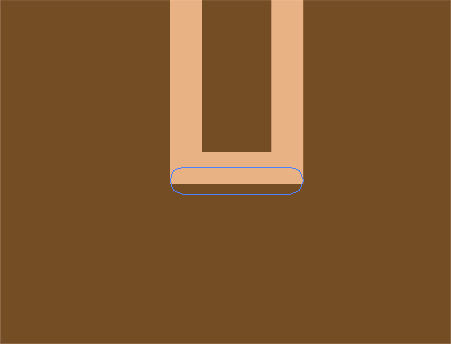
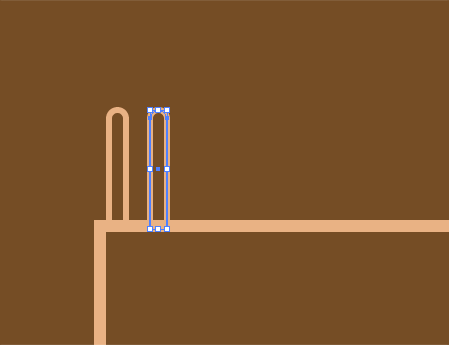
Add a small rounded rectangle to the base to finish off the straight edge.

Drag in a couple of guides aligned to the insides of the body strokes. Use these guides along with the Scissors Tool to cut two points into the path of the pen lid.
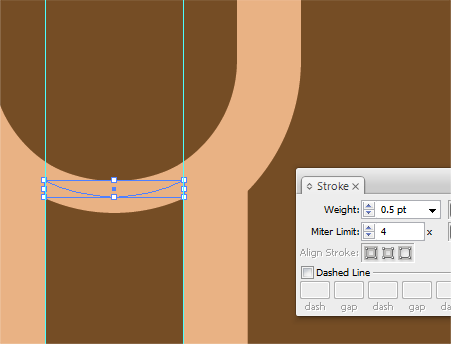
Select this new section and reduce the stroke to 0.5pt. Carefully move this small line into place to align with the surrounding lines.
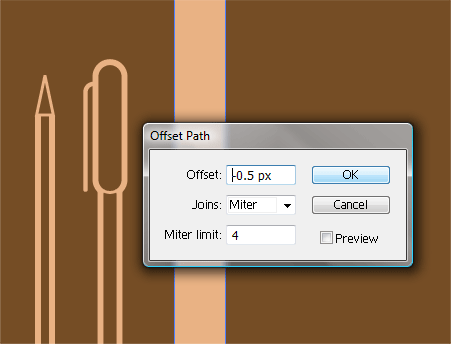
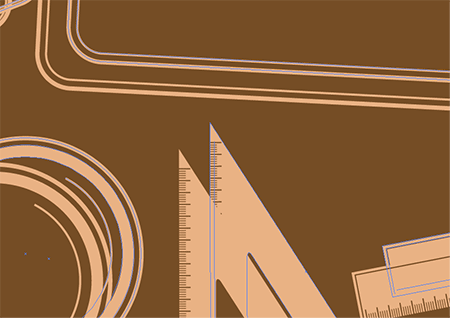
To create the ruler, start with a long rectangle filled with the chosen colour swatch. Offset a path 0.5px inwards and give a stroke of 0.25pt using the brown background colour.
Draw in the first two measurement lines, the first being slightly longer and thicker than the second.
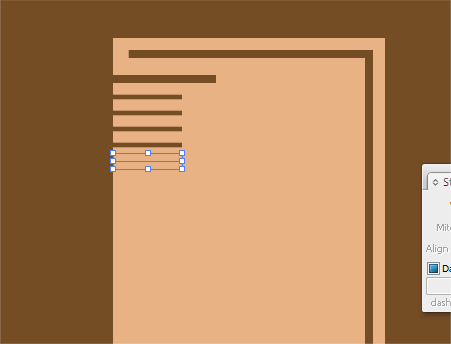
Copy (CTRL + C) the smaller line and Paste in Front (CTRL + F). Move the shape downwards with an equal distance. Paste in Front another instance of the line and continually press CTRL + D to repeat the last movement. Repeat this process giving an additional five small lines. Remove the stroke from the very last.
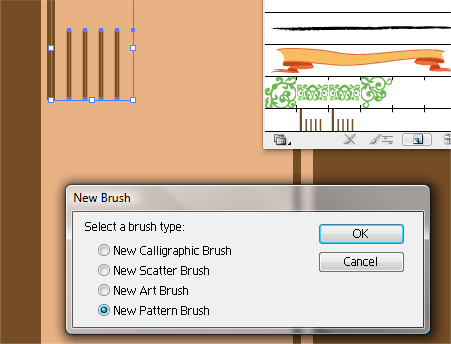
Select all six lines and rotate by 90 degrees, then click the New icon from the brushes palette. Select New Pattern Brush from the options and save the brush using the default settings.
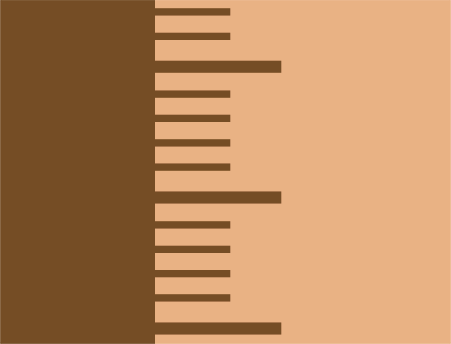
Draw a vertical line spanning the length of the ruler edge and add the newly created brush. This then repeats the metric pattern along the whole ruler.
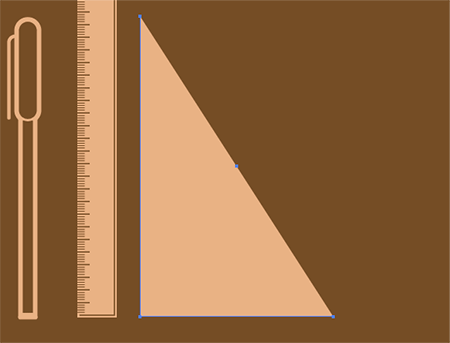
Draw a new rectangle onto the artboard filled with the beige swatch. Use the Pen Tool to remove the top right corner point resulting in a triangular shape.
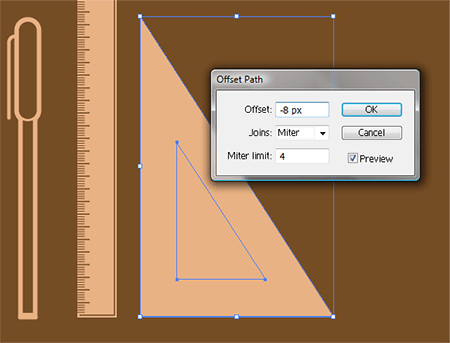
Go to Object > Path > Offset Path and enter a distance of -8px.
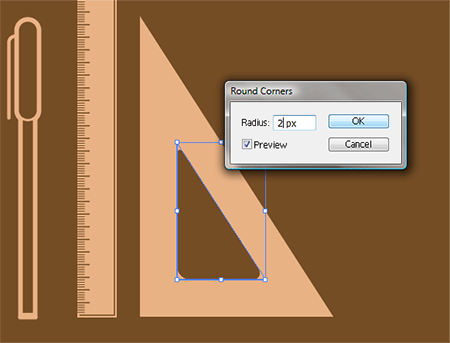
With this new shape selected go to Effect > Stylize > Round Corners and enter a setting of 2px. Fill the shape with the background brown.

Draw a line along the left and bottom edges and add the previously created brush to add the metric lines to the Set Square.
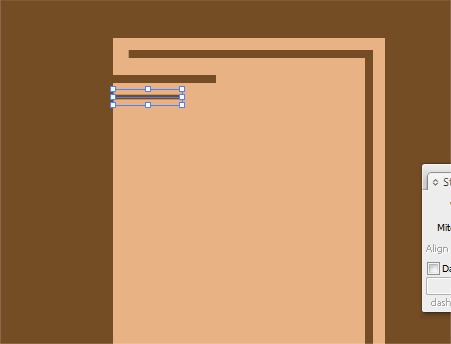
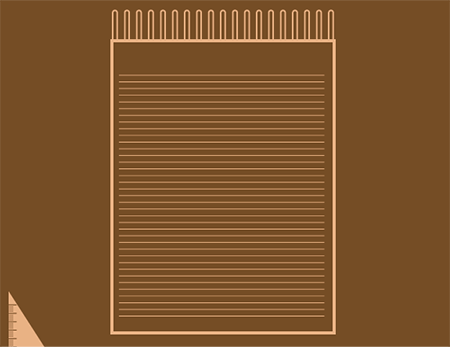
Create a large rectangle for use as a notepad, and create a thin rounded rectangle to represent a single binding ring.
Move the ring into place, Copy and Paste in Front then move horizontally while holding the Shift key. Paste in new objects and repeat the movement with the CTRL + D command until the ring binding spans the whole upper edge.

Group together the collection of rings, and align with the main notepad object.
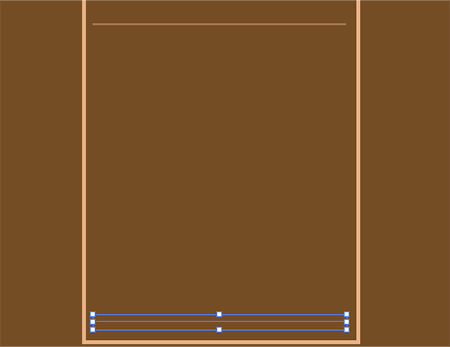
To create the effect of lined paper, draw a thin horizontal line at both the top and bottom of the notepad.
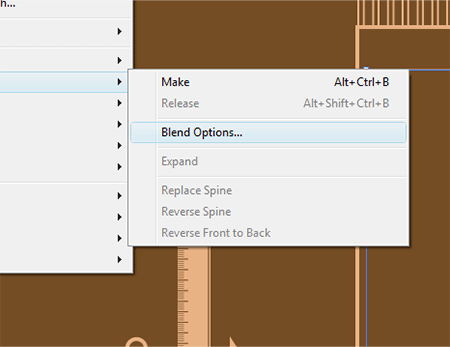
With both lines selected, go to Object > Blend > Blend Options. Enter 35 under the Specified Steps option. Go through and select Object > Blend > Make to go ahead and put these options into practice.
If necessary, go back and adjust the Blend Options to fine tune the number of lines.
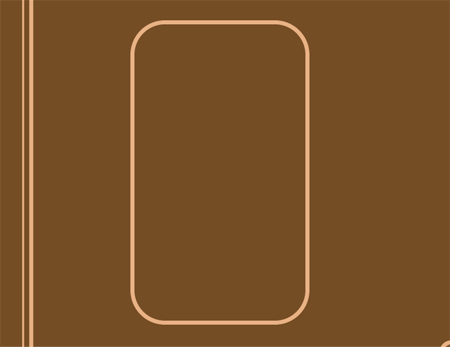
Create an iPhone by drawing a similar sized shape with the Rounded Rectangle Tool.
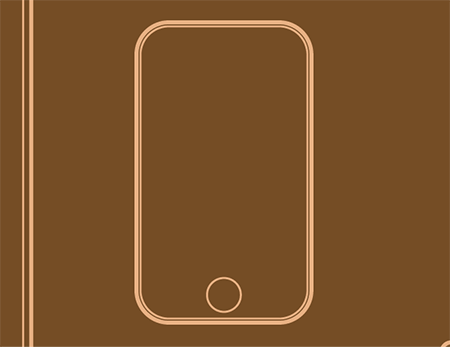
Offset the path by just -0.5px and create a circular button. Add a thin stroke to each object.
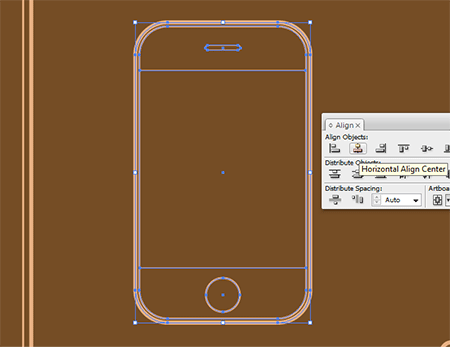
Go ahead and add two lines to simulate the screen area and a small rounded rectangle as the speaker area. With all objects selected align them centrally.
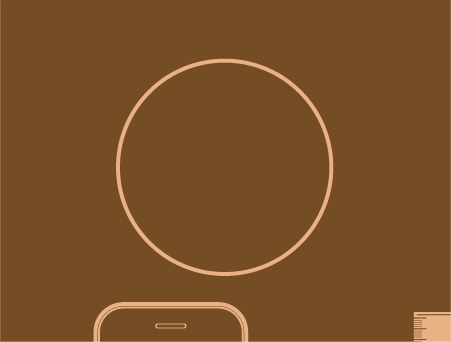
The designer lifestyle wouldn't be complete without a mug of coffee! Draw a stroked circle on the artboard.
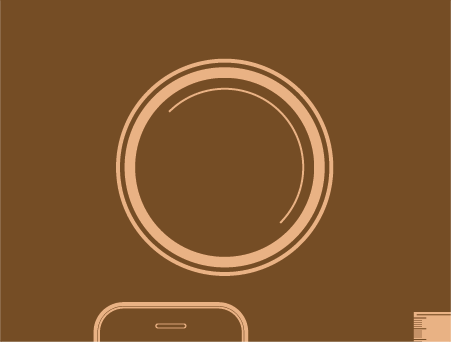
Copy and Paste in Front the circle, then while holding Alt and Shift scale down the circle. Swap the stroke for a solid fill. Paste in and scale a second circle, this time filled with the background brown. Paste in another circle and scale down to within the brown area, rotate by 45 degreess then using the Direct Selection Tool delete the bottom left point. Give this semi-circle a thin beige stroke.
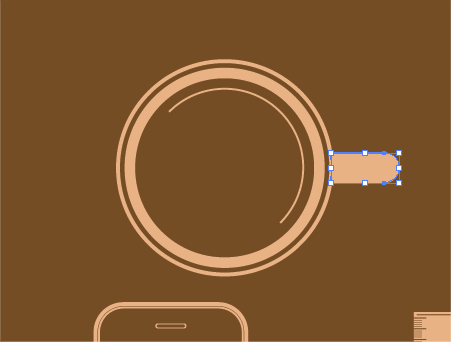
Create a small handle with the Rounded Rectangle Tool, delete out any necessary points in order for the handle to fit nicely on the edge of the mug without overlapping any gaps.

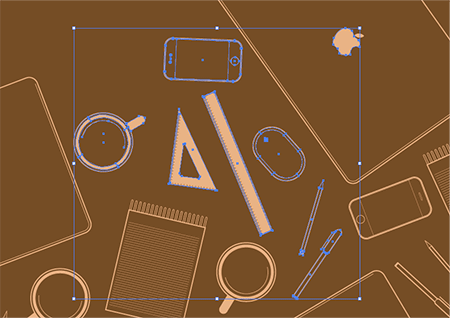
Select and group (CTRL + G) all the objects of each item individually allowing the whole item to be selected with one click. Rotate and move each item into position to form a random layout.

Copy and Paste multiple copies of the objects and scatter them around while aiming for equal spacing and balance between the items.

When a fairly large spread has been made, copy the entire group and duplicate across the artboard.

Go back and fill in any gaps with the individual objects.

Using a range of the smaller objects quickly disguises this gap while maintaining the overall pattern effect.

Press CTRL + A to select the entire page of objects, copy them then lock them in place using CTRL + 2. Paste the items onto the artboard and roughly align them with the originals while spreading out further into the surrounding page.
Zoom right in to align the objects accurately, using such as the point of the set square makes this job a little easier. Zoom back out and delete the overlapping areas, because the originals were previously locked, only the duplicates can be selected. Unlock everything using CTRL + ALT + 2.
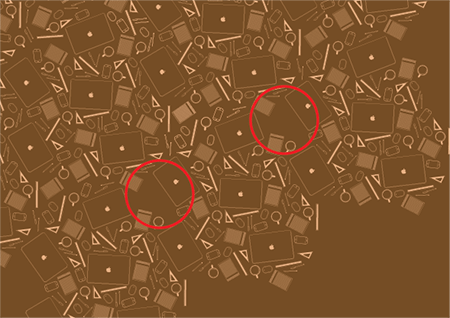
Taking a step back there are still a couple of gaps where the objects join and repeat.
Fill out one of these areas with additional objects, then copy the new objects along with an existing item such as the Apple logo which can be used to align any duplicates into the exact same position on the other gaps.
The process of selecting all the objects, copying them, locking everything, pasting duplicates back in, aligning them to the surrounding objects then deleting out the overlaps can be used repeatedly until you reach your desired size (or run out of RAM!)
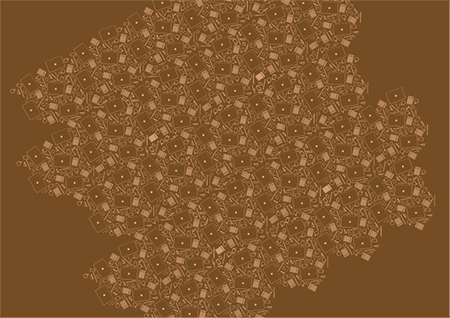
To finish off your pattern, group the objects together and use a Clipping Mask to reduce the pattern down to a neat rectangle.
As well as having the opportunity to use each individual object as a symbol or icon on its own in future projects, the whole repeating pattern also gives a great looking piece of design that can used anywhere from website backgrounds to book covers and t-shirts.


Very nice Chris. Keep them up :)
BTW: First :O
Sweet ! I love your tutorials ;)
Great line illustrations! ;) Nice tutorial.
Whoah man that is one in-depth tutorial! Fantastic… looks good as well and very adaptable.
Thanks
Nathan
1 problem… the design was made on a PC running Vista…
Cool! But will it tessellate?
I agree with @Robert Salazar – very cool tut but I’d love to see this taken to the next step to create a seamless, tile-able pattern
Looking back at the tutorial the pattern could be made to repeat by taking a few alternative steps:
When duplicating the small groups, hold shift to constrain the axis to the x and y, then fill out the gaps in between. You’ll then be able to pick out a square or rectangular section by taking a point from each of the four repeated areas.
Cropping out this section can then be used as a tile on say a website, although it will create more of a structured pattern as opposed to the random layout in the tutorial!
Hope this helps out!
Lovely :D
Very cool tutorial! Good detail on the design.
Great Tutorial, thanks
Cool tut. Very useful and flexible… will keep that one in mind…
Thanks :)
Its now on my desktop wallpaper at TP :D
i love it… thanks!!!
Nice tutorial, thank you! If possible, one question: I’ve found many versions of illustrator and fail to choose the best one Are there any general recommendations?
thank you for this tutorial
Great Tutorial!!!
Thanks
Great, detailed tutorial. Thanks! I want to try this technique soon — not with iPhones, but with…okay, maybe with iPhones.
Create tiling patterns by putting a clear square or rectangle to the back of the artwork. Select all and drag to your colour palette. Illustrator auto identifies it as a pattern. I found lots of repeating patterns here… http://patterns.carltonhibbert.com/ and here… http://www.squidfingers.com/patterns/