This post was originally published in 2010
The tips and techniques explained may be outdated.
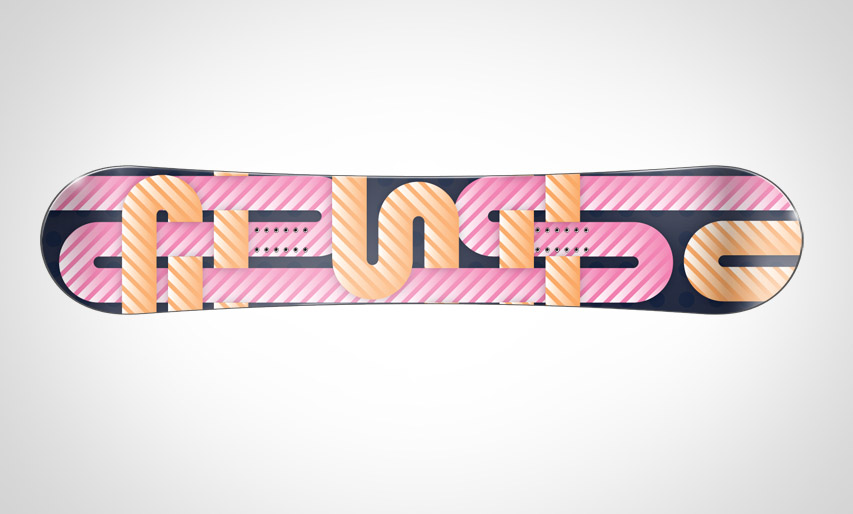
Learn how to put together a sweet candy inspired design in Illustrator by cutting, splitting and joining vector paths to produce an intricate weave of shapes. We’ll then add some finishing touches with subtle shading and a cool striped overlay to add depth to the design. The final concept will them be ready for being mocked up as a custom snowboard design.
One of the wonders of working with Illustrator is how a great looking design can be created from just playing around with the basic shapes. This particular design is created mostly through manipulating and joining vector paths to form the colourful flowing tubes. Fancy giving it a go yourself? Let’s get started!
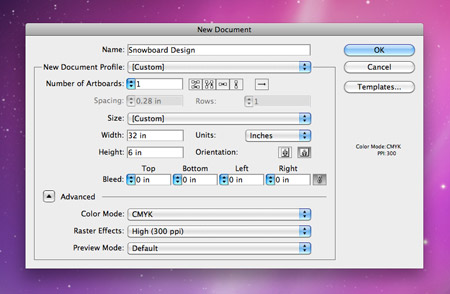
A typical snowboard design would be in the region of 64×12 inches. Unless you’re on a super powerful computer setup, you might see your machine buckling under the pressure of designing at this size, so we can scale the design down by half and use the dimensions 32x6inches.

Set up a basic colour scheme for your design. Here I’m using a dark blue, a pale yellow and a baby pink combination. Draw a rectangle to cover the whole artboard area to create a background for the design.
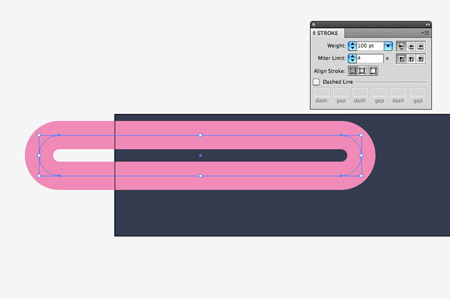
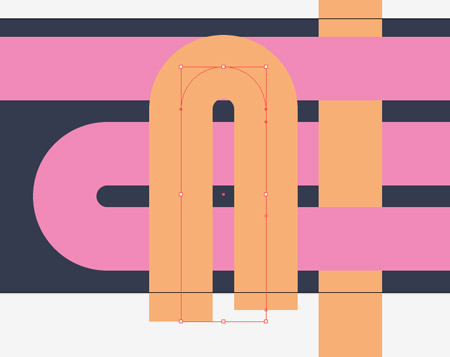
Draw a rounded rectangle onto the artboard and maximise the corner radius by pressing the right cursor key. Add a thick 100pt stroke with one of your colour swatches.
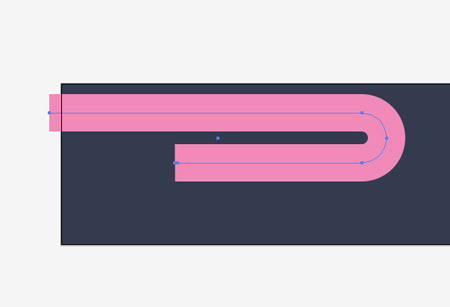
Use the Direct Selection Tool to select and delete the points that make up the left hand corner. Drag the points at the end of the straight edges inwards to shorten the shape. Hold Shift to keep these straight.
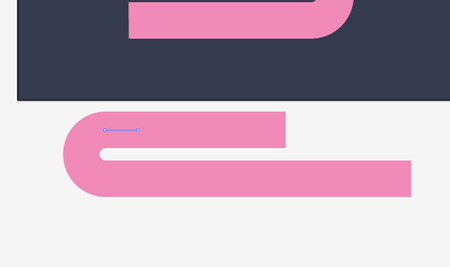
Copy (CMD+C) and paste (CMD+V) a duplicate of the shape and rotate it by 180 degrees. Shorten the top edge right down so that it lines up roughly with the original curve.
Turn on Smart Guides (CMD+U), then use the handy green indicators to accurately line up the two shapes. Aim to continue the centre path line directly between the two shapes.
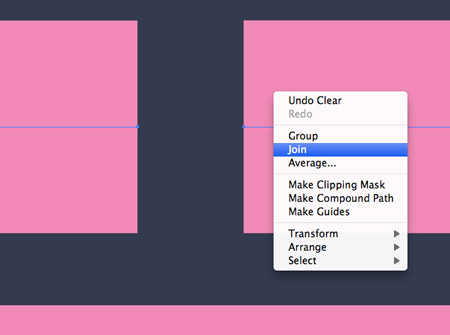
Zoom right in and select both the end points of each shape with the Direct Selection Tool. Press CMD+J to join them together into one continuous path.
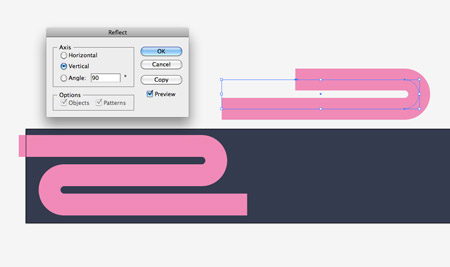
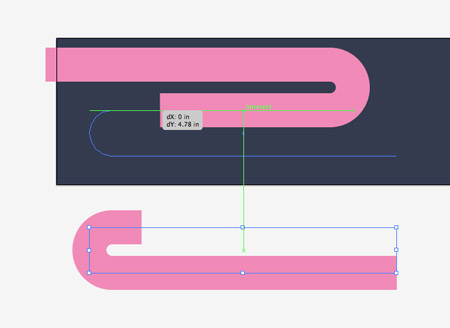
Paste another instance of the shape, then Reflect it along the vertical axis (Object > Transform > Reflect).

Use the Smart Guides to align this shape with the end of the continuous path and join them together.
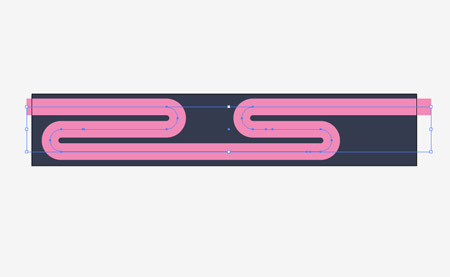
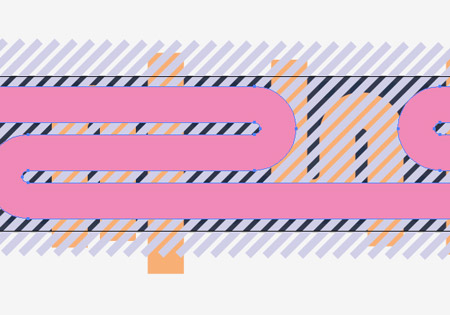
Paste in a couple more shapes and join everything together until you have a flowing path covering the whole design.
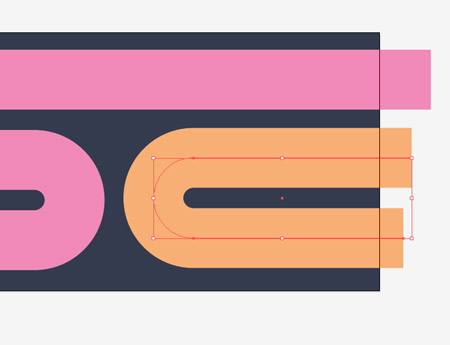
Paste another instance of the curve, but change the colour of the stroke and position it elsewhere on the design to fill up any large gaps in the design.
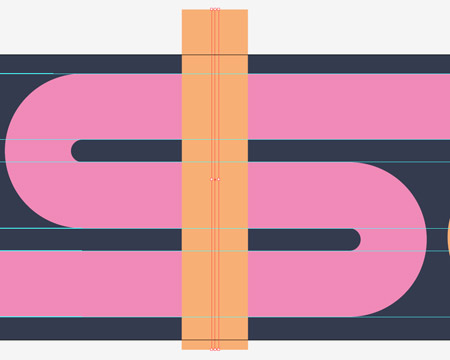
Draw some straight lines with the same stroke weight and colour that cross the design vertically.
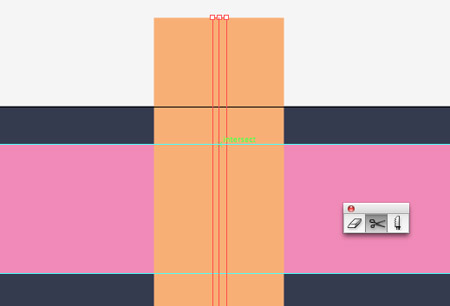
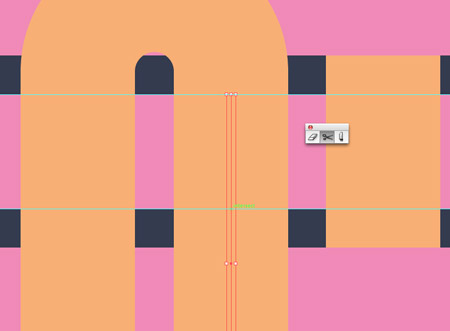
Drag guides onto the artboard to indicate the outline of the original shapes, then use the Scissors tool (C) to cut the path where it intersects.
Delete out the small path that’s left between two cuts to show the original shape underneath, giving a weaved appearance. Draw a couple more lines and alternate the weaving.
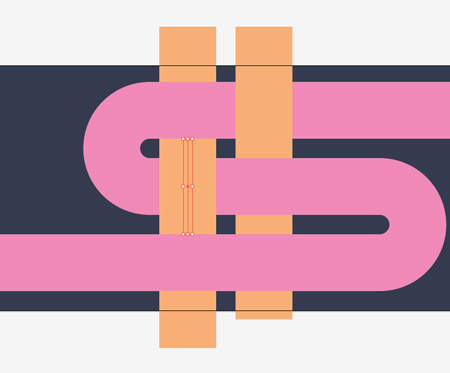
Paste in more instances of the curved line and position them vertically on the design.
Add more guides to indicate where the lines of the pink path crosses the overlapping orange lines.

Use the Scissors tool to chop out more sections of the paths to weave the lines in and out of the original path.
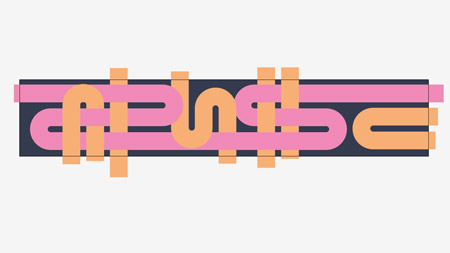
Once you have a bunch of paths flowing horizontally and vertically with lines weaving in and out, take a step back to check the design for gaps.
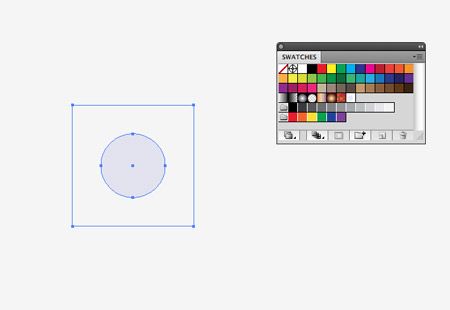
Elsewhere on the document, draw an empty square with no fill or stroke. Inside this add a small circle. Align them both with the align palette to ensure they’re accurately centred, then drag them into the Swatches palette to create a new pattern fill.
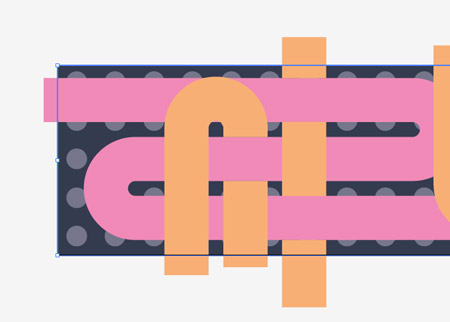
Copy (CMD+F) and paste in front (CMD+F) the background rectangle, then add the circular pattern as the fill colour.
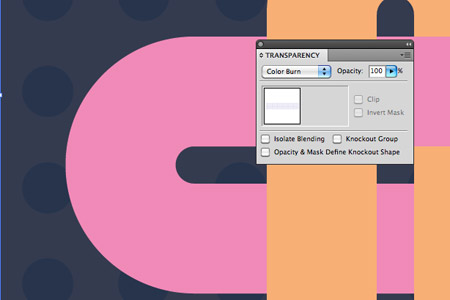
Tone down the effect by changing the blending mode to Color Burn. This will switch the light blue circle to a darker tone of the background colour.
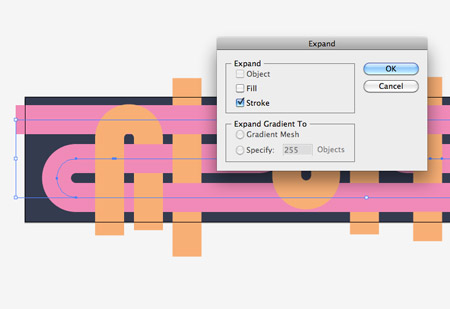
Select the paths of the flowing curves and go to Object > Expand. Select the Stroke option to convert the paths to solid shapes.

Draw a long, thin rectangle and rotate it by 45 degrees. Drag a duplicate off to the right while holding the ALT and Shift keys.
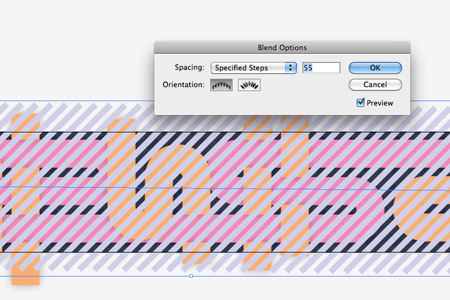
With both items selected, go to Object > Blend > Make, then head back to Object > Blend > Blend Options and alter the settings to Specified Steps at around 55.
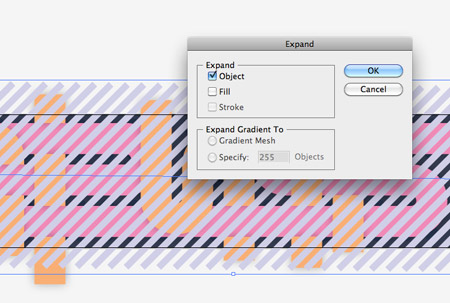
With the new blend still selected, go to Object > Expand and select the Object option. This will convert the editable blend into a range of solid shapes.
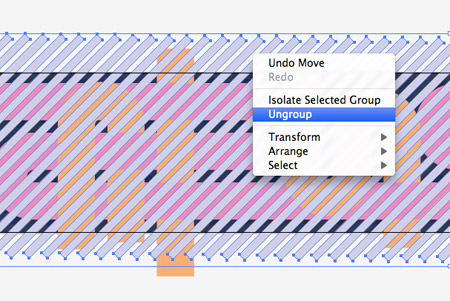
Right click and select Ungroup.
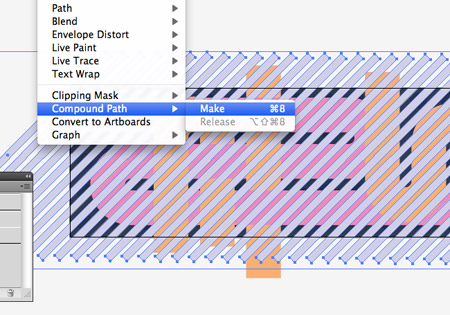
Then, head to Object > Compound Path > Make. A compound path groups all the items together so they can be used as a single tool with the Pathfinder in the following steps.
Copy and paste in front (CMD+F) a duplicate of the main pink curves. Press CMD+Shift+] to bring it to the top. Select the diagonal lines once again and copy them to the clipboard (CMD+C), we’ll need them again later!
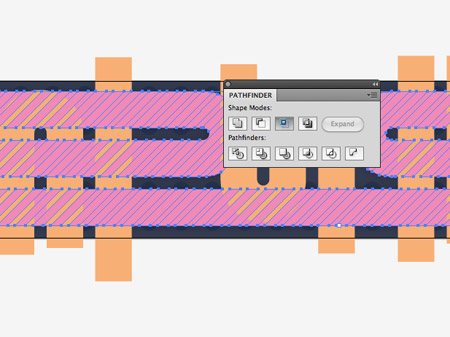
With both the diagonal lines and the pink curves selected, hit the Intersect option from the Pathfinder palette to crop the lines down to the outline of the curved path.
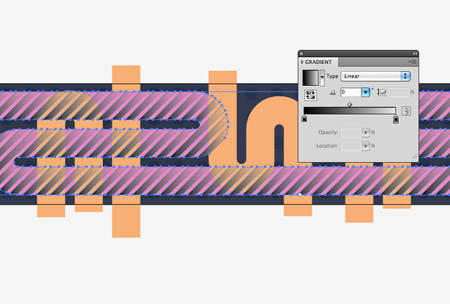
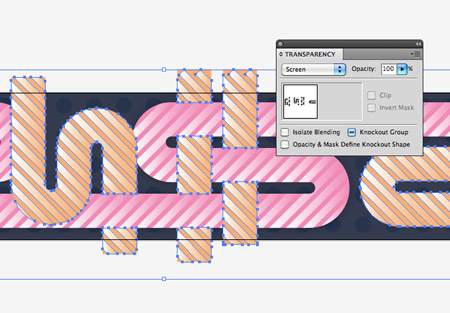
Fill the new diagonal lines with a black to transparent gradient, which you can find handily sitting in the swatches palette as a default swatch.
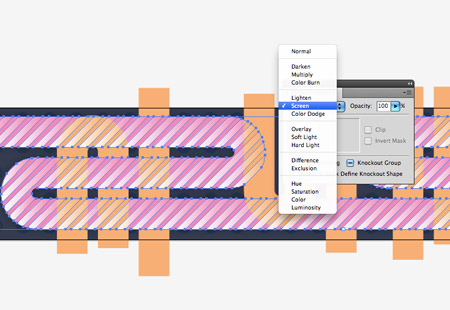
Change the blending mode of the gradient to Screen to give a bright overlay effect. Then adjust the stacking order by pressing CMD+[ repeatedly until the pattern sits underneath the yellow paths.
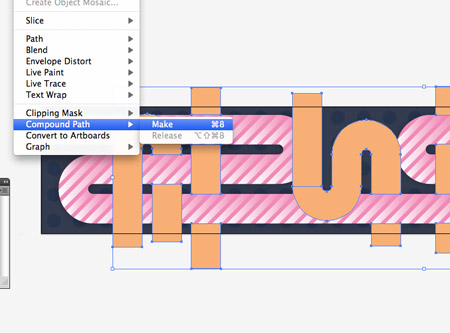
Select all the objects with the yellow fill and create a compound path.
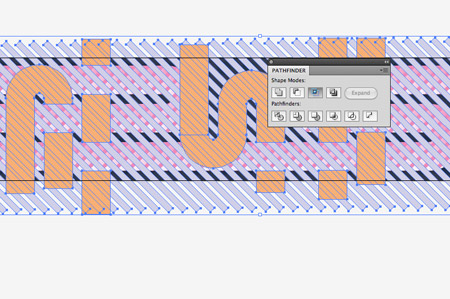
Paste the diagonal lines that we previously copied back onto the artboard. Flip this one round by going to Object > Transform > Reflect. Duplicate the series of yellow paths and select them along with the diagonal lines. Use the Intersect option in the Pathfinder palette to chop down the lines to the confines of the paths.
Add the same black gradient fill to the new pattern.
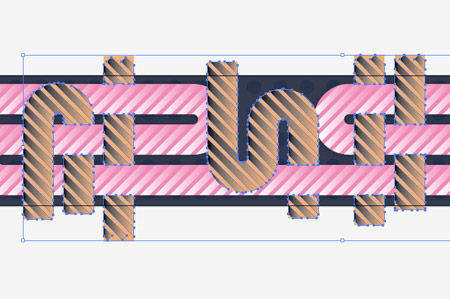
Then change the blending mode to Screen to match the effect of the pink lines.
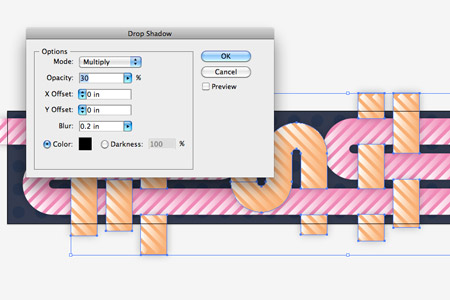
The gradient lines help add a little depth to the otherwise flat design, but we can take this a step further with some subtle shading. Carefully select the original paths (not the diagonal overlays). Press CMD+2 to lock the diagonal lines if you have trouble selecting the correct objects. Go to Effect > Stylize > Drop Shadow and alter the settings to 30% opacity, 0 offset on both axis and a 0.2inch blur. Sit back and wait for everything to process.

Draw a rectangle across the artboard, then select it along with the whole design and go to Object > Clipping Mask > Make to hide all the overlapping edges.
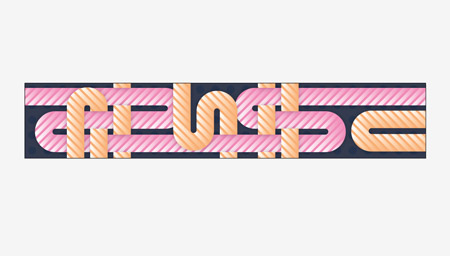
The vector design is just about complete and ready to export. Go to File > Export and select the Jpeg option.

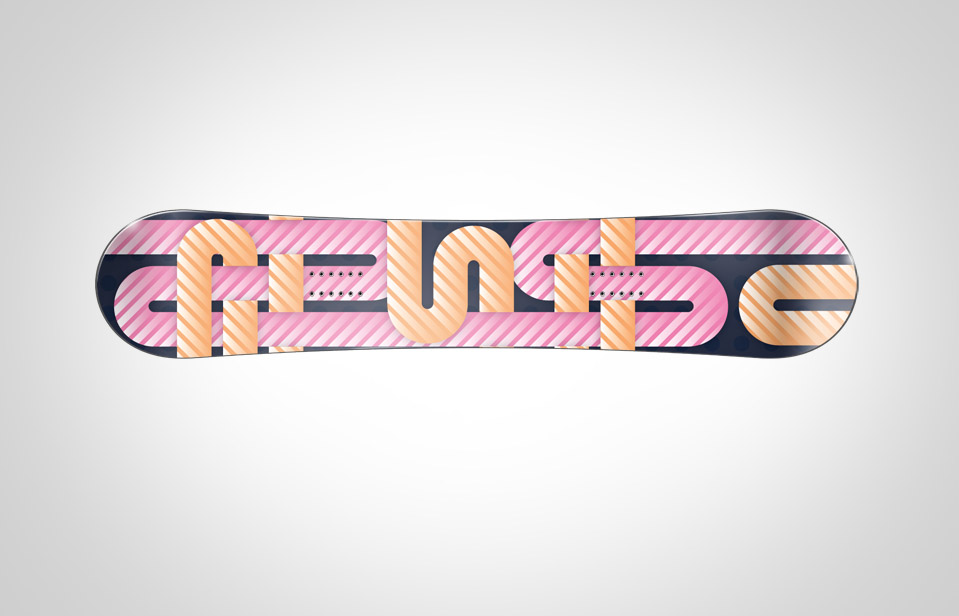
Download the open the awesome Snowboard template from Nunosk8. Paste in your custom snowboard design and scale it to size within the document.
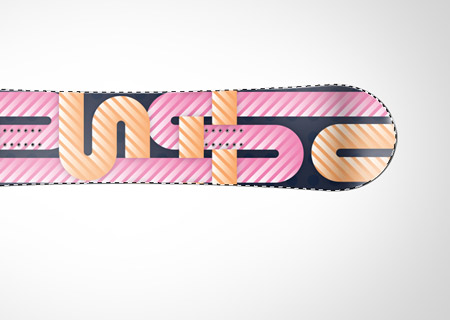
With the design in place, CMD+click the thumbnail of the board outline to load the selection, then create a layer mask on the design layer to clip the design to size.
And that’s our sweet snowboard design mockup complete! Check out the larger preview for a detailed view. If you’re an Access All Areas member, download the vector source file to get a closer look at how the design is put together and to compare the settings with your own.

Cool design. I really can’t wait to try out the tutorial, thanks for taking the time to put this together, Chris!
Nice one. Seems difficult if see just an image but going through the tutorial makes it very easy and simple. Thanks Chris!
Such a great step by step process which makes the tutorial so effortless.
GOOD work!! The process of creation is fantastic!! :D
Blog: http://www.ATOLADOS.com
Twitter: @atolados
This is great…lots of great techniques especially with paths…thanks so much!
Wounderful creativity ……thankful to you
Thanks everyone! It just goes to show how a few simple steps can soon create what seems to be a fairly complicated design.
Awe-some!
Wow!!!! Love the concept.
Wooooooooooooo (to infinity) :)
Its a great tut. Thankx Sir!
great inspiration, thanks for taking the time to include all the steps!
very nice tutorial now i feel very motivated to do it myself, i am going to create a very nice design to ride my board with style, specially now that snowboard season is coming in my country.
Some real nice techniques in there. Liking this one.
Very nice tutorial Chris! Some cool techniques.
Thanks!
Oh Yes! the result in the end is just awesome
I only wish I could use snowboard :)
everything is a Amazing!!!!!!!!!!!!!
Great tutorial! Here’s my snowboard: http://drp.ly/Cvh6A Kinda copied yours, but it’s a start. :)
I love the design you did.
Great work and tuts Chris.
Very nice tutorial Chris! Some cool techniques.
Thanks
Awesome tutorial i reallu enjoyed it :D
Wow, awesome tutorial. What a mess that i use a pc instead mac. I will try to rebuild this with gimp if it is possible!